

A custom aluminum enclosure prototype needs to answer specific engineering questions. If the PCB envelope, connectors, and mounting requirements remain uncertain, a visually convincing sample may still require substantial revision before your team can install its electronics and evaluate the product.
Prepare an enclosure prototype by identifying the decisions it must support, releasing the relevant mechanical information, and agreeing on the sample configuration and review criteria. Evaluate existing profiles where they fit, then define the necessary machining, finish, and marking. Prototype quantities and timing should be confirmed for the project rather than assumed from a fixed number of days.
What Should the Prototype Help Your Team Decide?
Choose the prototype scope around unresolved product questions. A fit-check sample, an appearance sample, and an enclosure intended for customer system testing may require different levels of detail and should not automatically be treated as interchangeable.
| Review purpose | What to define | What the review can establish |
|---|---|---|
| Mechanical fit | PCB envelope, mounting, and connector geometry | Whether the reviewed parts fit the intended configuration |
| User access | Buttons, indicators, cables, and installation sequence | Whether interfaces are accessible under the reviewed conditions |
| Appearance | Visible surfaces, finish, and marking references | Whether the sample meets agreed visual criteria |
| System evaluation | Customer test setup and representative enclosure configuration | Evidence for the specific evaluation performed |
- Write down the decision. State what the team expects to approve after receiving the sample. “Check the enclosure” is less useful than identifying uncertain interfaces and their acceptance criteria.
- Identify the reviewer. Assign responsibility for mechanical fit, appearance, and complete-product evaluation. Different reviewers may need different records or sample configurations.
- List intentional differences. Record features omitted or changed for the sample. A simplified prototype should not silently become the reference for features it does not represent.
Statement: A prototype should have a defined review purpose before its configuration is released.
Answer: True
Explanation: The purpose determines which details need to be represented and what evidence the sample can provide.
What Mechanical Information Should You Prepare First?
Provide the physical envelope and interfaces that determine enclosure fit. Include relevant PCB and component geometry, connector positions, mounting requirements, and the access needed for installation and service.
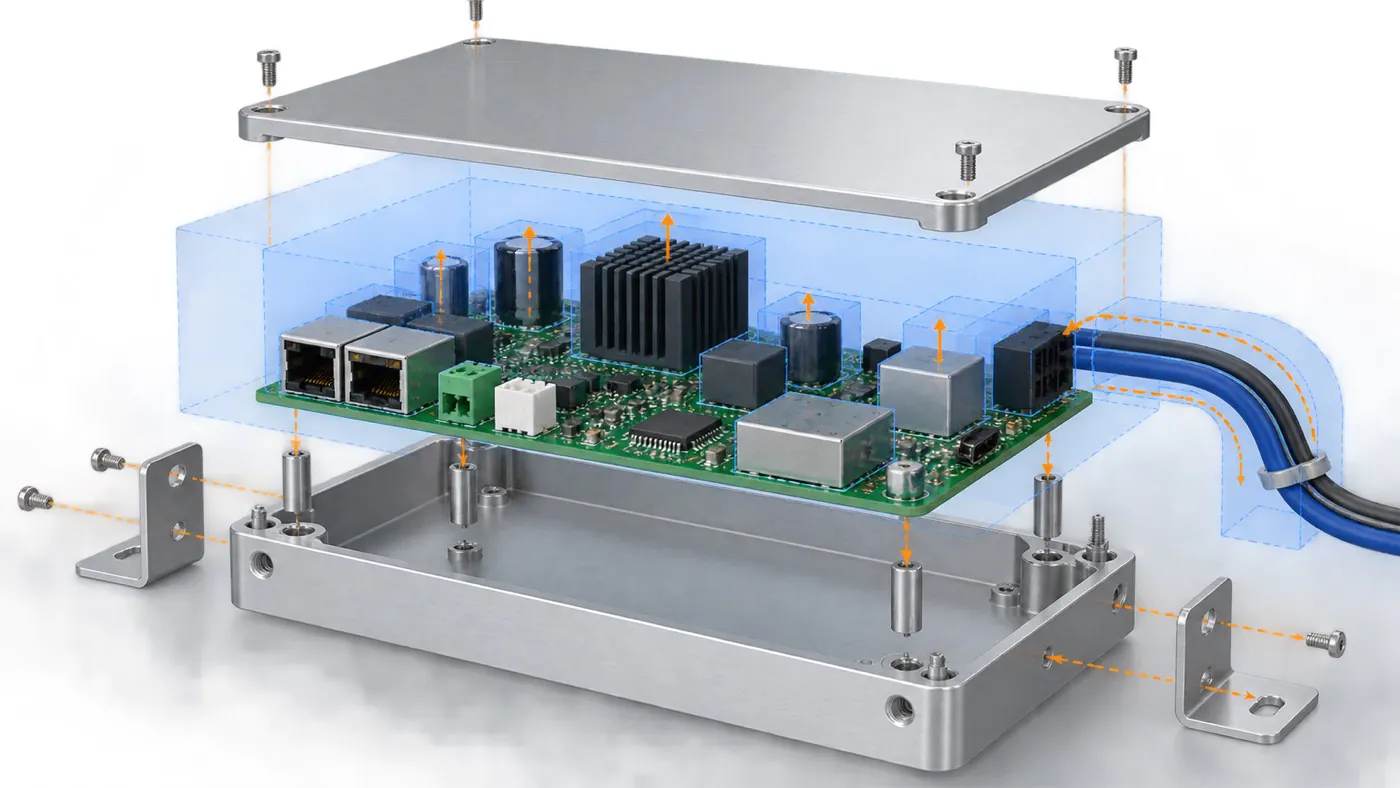
Conceptual fit review: consider the complete installed envelope rather than board dimensions alone.
- Include protruding components. Capture connector bodies, tall components, cable exits, and fasteners where they affect the housing. Board length and width are only part of the fit definition.
- Control interface positions. Use drawings to locate connector openings, displays, switches, and mounting holes from agreed references. A list of opening sizes without positions is incomplete.
- Describe installation access. Explain how your team intends to insert the PCB, secure parts, and reach fasteners. The intended sequence can reveal conflicts that a closed exterior view misses.
- Identify unresolved geometry. Mark provisional features and state when they will become final. The supplier should not have to interpret an unfinished detail as an approved requirement.
Statement: PCB outline dimensions alone establish that a populated board will fit an enclosure.
Answer: False
Explanation: Component height, connector bodies, mounting features, and installation access also affect fit.
When Is an Existing Enclosure a Suitable Starting Point?
Start with an existing profile or enclosure when its underlying geometry and structure can accommodate the product. Confirm the fit and available customization before assuming that an existing design will avoid dedicated tooling or shorten the project.
| Starting point | Evaluate first | Limitation to resolve |
|---|---|---|
| Extruded enclosure | Cross-section, PCB support, length, and panel interfaces | Cross-section features are not freely adjustable by cutting to length |
| Assembled instrument enclosure | Component arrangement, panel space, and mounting structure | Available dimensions and construction depend on the selected design |
| Die-cast enclosure | Internal space, wall features, and usable machining areas | Existing casting geometry constrains adaptation |
| CNC-machined housing | Required geometry and machining access | The manufacturing route needs a separate feasibility review |
- Match structure to function. Check the actual product envelope and mounting conditions rather than selecting by exterior similarity.
- Separate standard design from stock. An existing design does not establish immediate availability of the required configuration. Confirm supply conditions for the sample request.
- Assess alternatives when needed. If existing options do not fit, evaluate dedicated tooling or another manufacturing route. Do not force a mismatched profile into the design solely to retain a standard starting point.
PUMAYCASE's standard-profile-plus-customization approach is relevant when an existing enclosure option meets the project requirements. The product structure called an assembled enclosure does not mean that PUMAYCASE provides electronics assembly services.
Statement: Cutting an existing extrusion to a different length also allows its cross-section to be changed freely.
Answer: False
Explanation: Length adaptation and cross-section changes are different design and manufacturing decisions.
Which Machining and Finish Details Should the Sample Represent?
Include features that affect the prototype's intended decisions, and document any simplifications. Confirm the proposed process for the selected enclosure type instead of assuming all aluminum housings follow the same manufacturing route.
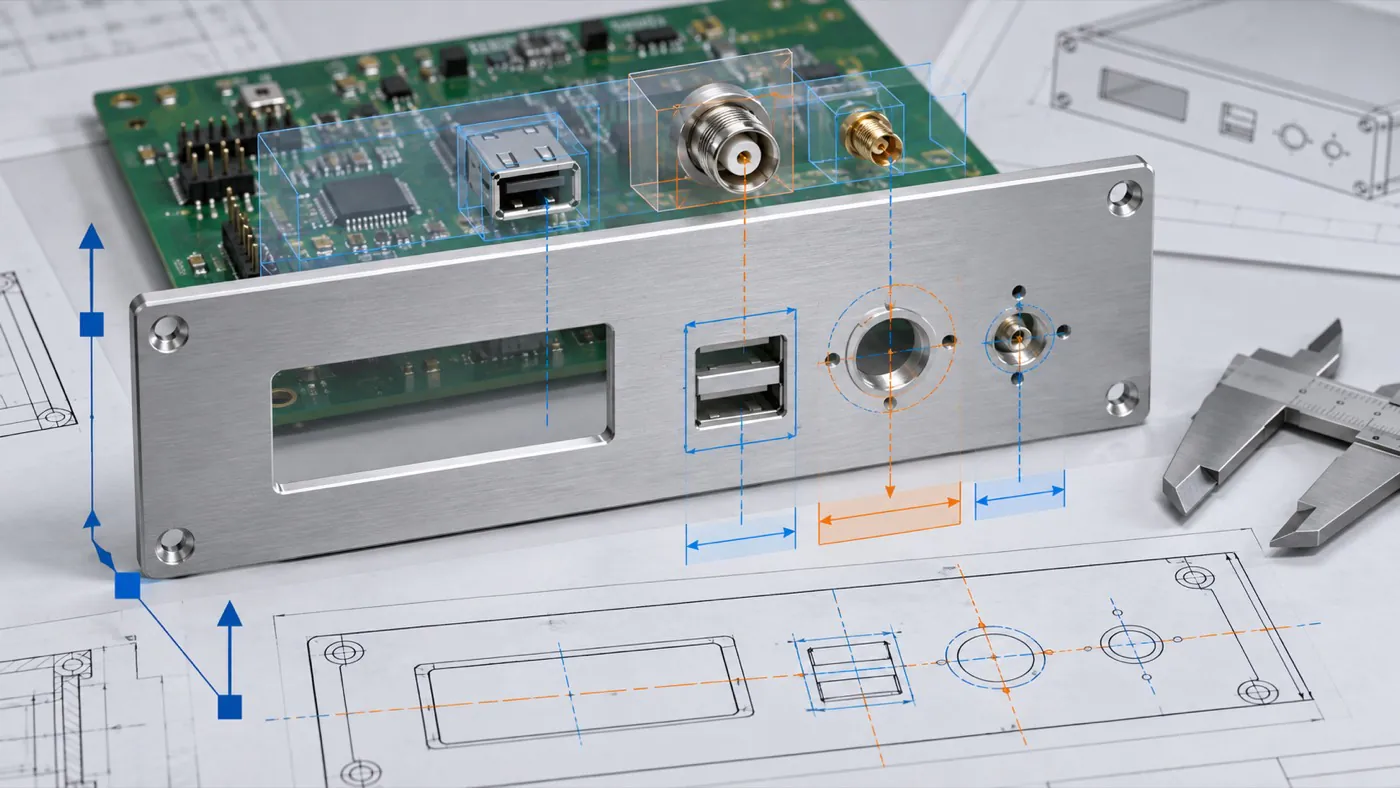
Illustrative panel review: locate functional openings from controlled references.
- Identify functional openings. Specify connector cutouts, mounting holes, ventilation features, and other openings required for the review. Their positions and edge requirements belong in the controlled definition.
- Define important finish requirements. Explain which surfaces are cosmetic and which interfaces have functional requirements. Review the suitability of the proposed finish for the configuration.
- Control artwork. Supply marking content, placement, orientation, and revision if labels or branding are part of sample acceptance.
- Record omitted details. If finish or marking is deferred, identify which approvals remain open. An unfinished sample cannot establish the final appearance of a finished part.
Statement: An unfinished fit sample is sufficient evidence for approving the final surface appearance.
Answer: False
Explanation: It can support the relevant fit review, but final appearance requires a representative finish and agreed acceptance reference.
How Should You Plan the Sample Review?
Prepare a review sequence that links observations to the original requirements. The customer's installation and complete-product evaluation should be planned separately from the supplier's agreed enclosure-part checks.
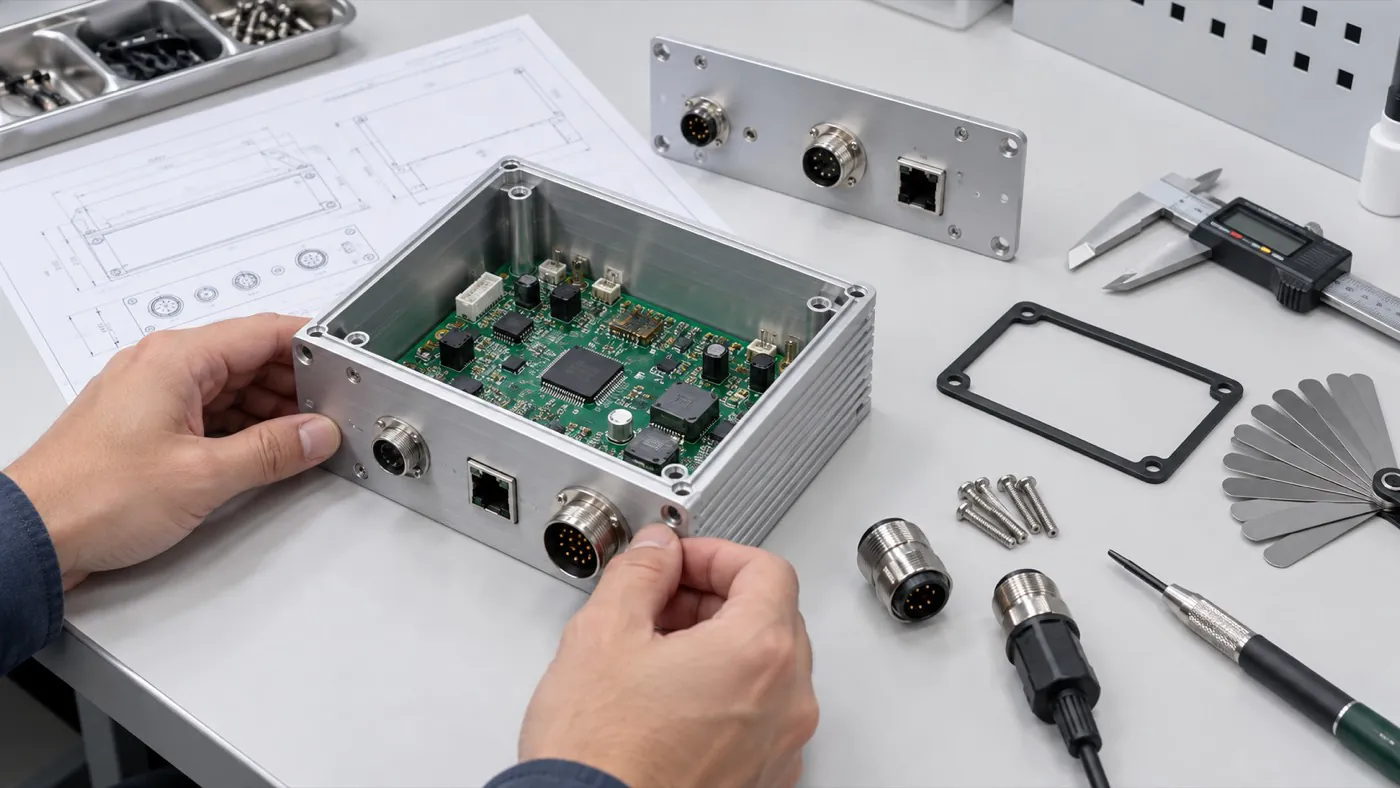
Conceptual sample inspection; the illustration does not represent a completed test or approved customer design.
- Check identity before fit. Verify the part version and supplied configuration before interpreting results. Resolve a drawing mismatch before accepting the sample as representative.
- Record interface observations. Review the intended installation sequence, mounting, connector access, and other defined interfaces. Describe a problem precisely enough to support a drawing correction.
- Separate visual acceptance. Compare finish and marking with the agreed references. Document appearance findings without substituting them for mechanical checks.
- Keep system claims within the evidence. Required thermal, EMC, ingress-protection, or other complete-product evaluation needs an appropriate customer test plan. An aluminum enclosure or a successful fit check does not guarantee those outcomes.
Statement: A successful mechanical fit check guarantees the finished electronic product's EMC performance.
Answer: False
Explanation: Mechanical fit and system-level electromagnetic performance address different requirements and need different evidence.
What Should Happen When the Sample Needs Revision?
Translate each relevant finding into a controlled requirement or drawing change, then agree what must be checked again. A sample can reveal a useful design issue without providing approval for the revised configuration.
| Finding | Record | Next decision |
|---|---|---|
| Interface interference | Affected feature, version, and observed condition | Revise geometry and define the necessary recheck |
| Access difficulty | Installation step and obstructing feature | Review the structure or customer installation method |
| Appearance mismatch | Agreed reference and observed difference | Clarify the requirement and review corrective evidence |
| Changed electronics | New envelope or interface data | Reassess enclosure compatibility before release |
- Consolidate feedback. Send one controlled change list rather than conflicting comments from several reviewers.
- Review the impact. Confirm which parts, artwork, or requirements are affected. Ask whether another sample or another form of evidence is appropriate.
- Update the release record. Identify superseded files and the new approved configuration. Keep unresolved issues visible rather than treating a revised drawing as automatic approval.
Changes may affect the schedule. Use the enclosure lead-time planning guide to separate review milestones from manufacturing and shipping assumptions.
What Should Be Confirmed Before Moving Beyond the Prototype?
Release the next stage against a clearly identified configuration and quantity. Sample acceptance should support that decision while leaving unresolved production, packaging, or customer validation requirements explicit.
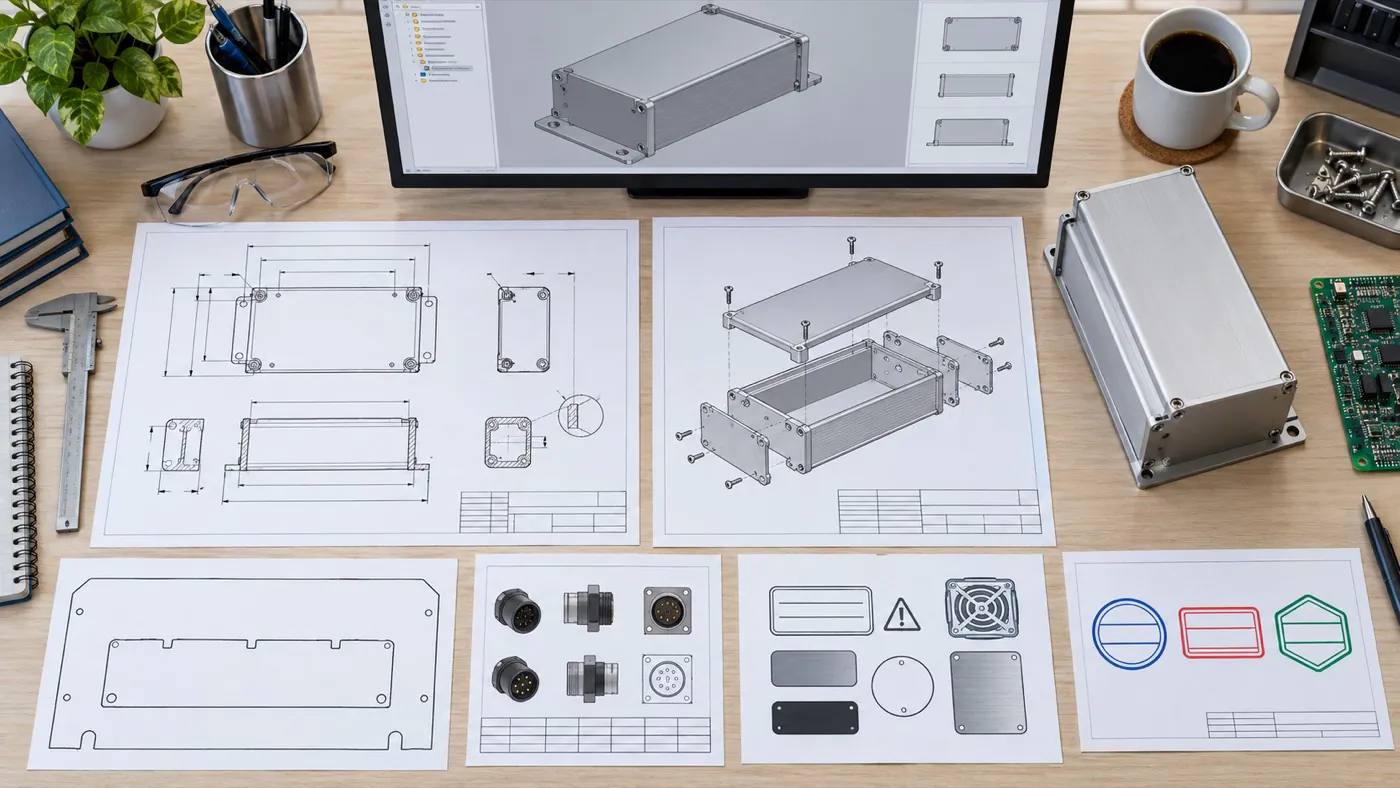
Illustrative release package: carry the accepted configuration into the next order with clear revision control.
- Identify what was accepted. Reference the drawing, finish, artwork, and documented deviations that apply.
- Confirm the next order scope. State the quantity by version, requested milestone, and packaging needs. Sample quantity, production quantity, and timing remain project-specific.
- Preserve customer responsibilities. Plan your electronics installation and required system verification. PUMAYCASE supplies enclosure customization and production support, not PCB installation, wiring, or box-build delivery.
Use the prototype review to make the next release clearer, with remaining decisions assigned and recorded.
Conclusion
Prepare a custom aluminum enclosure prototype around defined decisions, complete interface information, an appropriate manufacturing route, and a documented review plan. Evaluate an existing enclosure where it fits, confirm representative features, and control changes before the next release. Share your PCB envelope, drawings, connector positions, mounting requirements, and sample objectives with PUMAYCASE to assess a suitable enclosure and customization path.