You need to verify a supplier's quality before committing. But ordering a sample feels like a black box, causing uncertainty. Will it be what you need, or just a generic demo?
Expect to receive either a standard sample1 to evaluate general quality or a fully custom prototype2 made from your CAD files3. Clarify the type, cost, and lead time before ordering to ensure it meets your project's validation needs.
 “What to expect when ordering a rackmount enclosure sample”)
The type of sample you get can make all the difference in validating your design and supplier. It's the most reliable way to move from a digital design to a physical product you can trust. Understanding the options and the process will help you make the right choice for your project's stage and budget, avoiding costly surprises down the line.
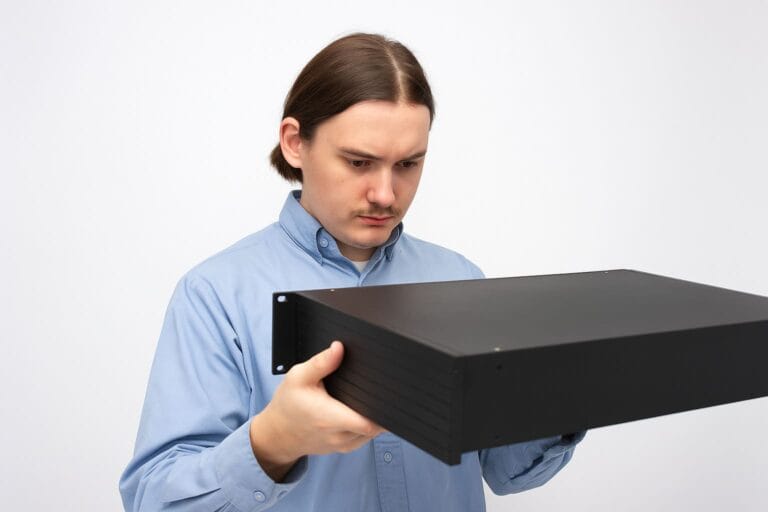
Should you get a standard or a custom prototype sample?
You need to test fit and quality, but a full prototype seems expensive for an initial check. How do you choose the right sample type without wasting your time or blowing your budget?
Choose a standard sample to quickly assess a supplier's overall build quality, material feel4, and finish. Opt for a fully custom prototype when you need to test the precise fit of your specific PCBs, connectors, and other components.
 “Standard sample vs. custom rackmount prototype”
Choosing the Right Tool for the Job
The decision between a standard sample and a custom prototype depends entirely on what you need to verify. Both are valuable, but they serve very different purposes. Early in my career, I saw a client skip the custom prototype step to save a few hundred dollars. The standard sample looked great, but when the full production order of 50 units arrived, the custom cutouts were off by 2mm because of an error in their drawing. That small saving cost them thousands in re-work. This is why I always walk clients through the options.
The Role of the Standard Sample
A standard, off-the-shelf sample is for initial supplier vetting5. It's a fast and low-cost way to get your hands on the product. You can assess the quality of the aluminum extrusion, feel the weight, check the sturdiness of the construction, and see the surface finish of the anodizing up close. It answers the question: "Does this supplier make a high-quality product in general?"The Necessity of a Custom Prototype
A custom prototype is for final design validation. This is essential for an engineer like Jeff who has urgent prototype iterations6. This sample is manufactured directly from your own CAD file. It allows you to do a full test assembly. You can mount your PCBs, install your connectors, check every clearance, and confirm every label is perfect. It answers the critical question: "Does my specific design work perfectly with this enclosure?"
| Sample Type | Purpose | Cost | Speed | Best For |
|---|---|---|---|---|
| Standard Sample | General Quality & Finish Assessment | Low / Free | Fast | Initial supplier vetting5 |
| Custom Prototype | Design Validation & Fit Testing | Higher | Slower | Final pre-production check for a specific design |
What information do you need to provide for a custom sample?
You're ready for a custom prototype but unsure what to send. Providing incomplete information can lead to frustrating back-and-forth emails, delaying your critical project timeline7 and causing missed deadlines.
For a custom sample, you must provide a detailed CAD file (STEP for 3D, DXF for 2D panels). Also, include specifications for the finish (e.g., black anodizing) and any text or logos, including their exact fonts and colors.
“Information needed for a custom enclosure sample”
The Blueprint for Your Prototype
The quality of the information you provide directly determines the quality and speed of your sample production. A precise, detailed request allows us to move forward quickly and accurately. Vague requests lead to delays.
The CAD File is King
This is the single most important part of your request. For a full enclosure, a 3D STEP file is the gold standard because it contains all the geometric data for the body and panels in one file. If you are only customizing panels, 2D DXF or DWG files are also great. Remember, our CNC machines are run by computers, and they need a digital language to understand your design. A hand sketch with arrows is great for discussion, but it can't be used for manufacturing. This clear technical communication is essential to avoid the tolerance mismatch issues that can derail a project.Don't Forget the Finishing Details
The job isn't done with just the CAD file. We also need to know the "soft" specifications that bring your enclosure to life. What finish do you want? The most common for aluminum is anodizing, but you need to specify the color (e.g., clear or black). How do you want your labels applied? Silk-screening is excellent for durable, colored text, but we need the Pantone color codes. Laser engraving offers ultimate precision, but we need the font files. At PUMAYCASE, we provide a simple checklist to ensure we get all these details upfront. This allows our engineers to provide helpful DFM (Design for Manufacturability) feedback within 24 hours.
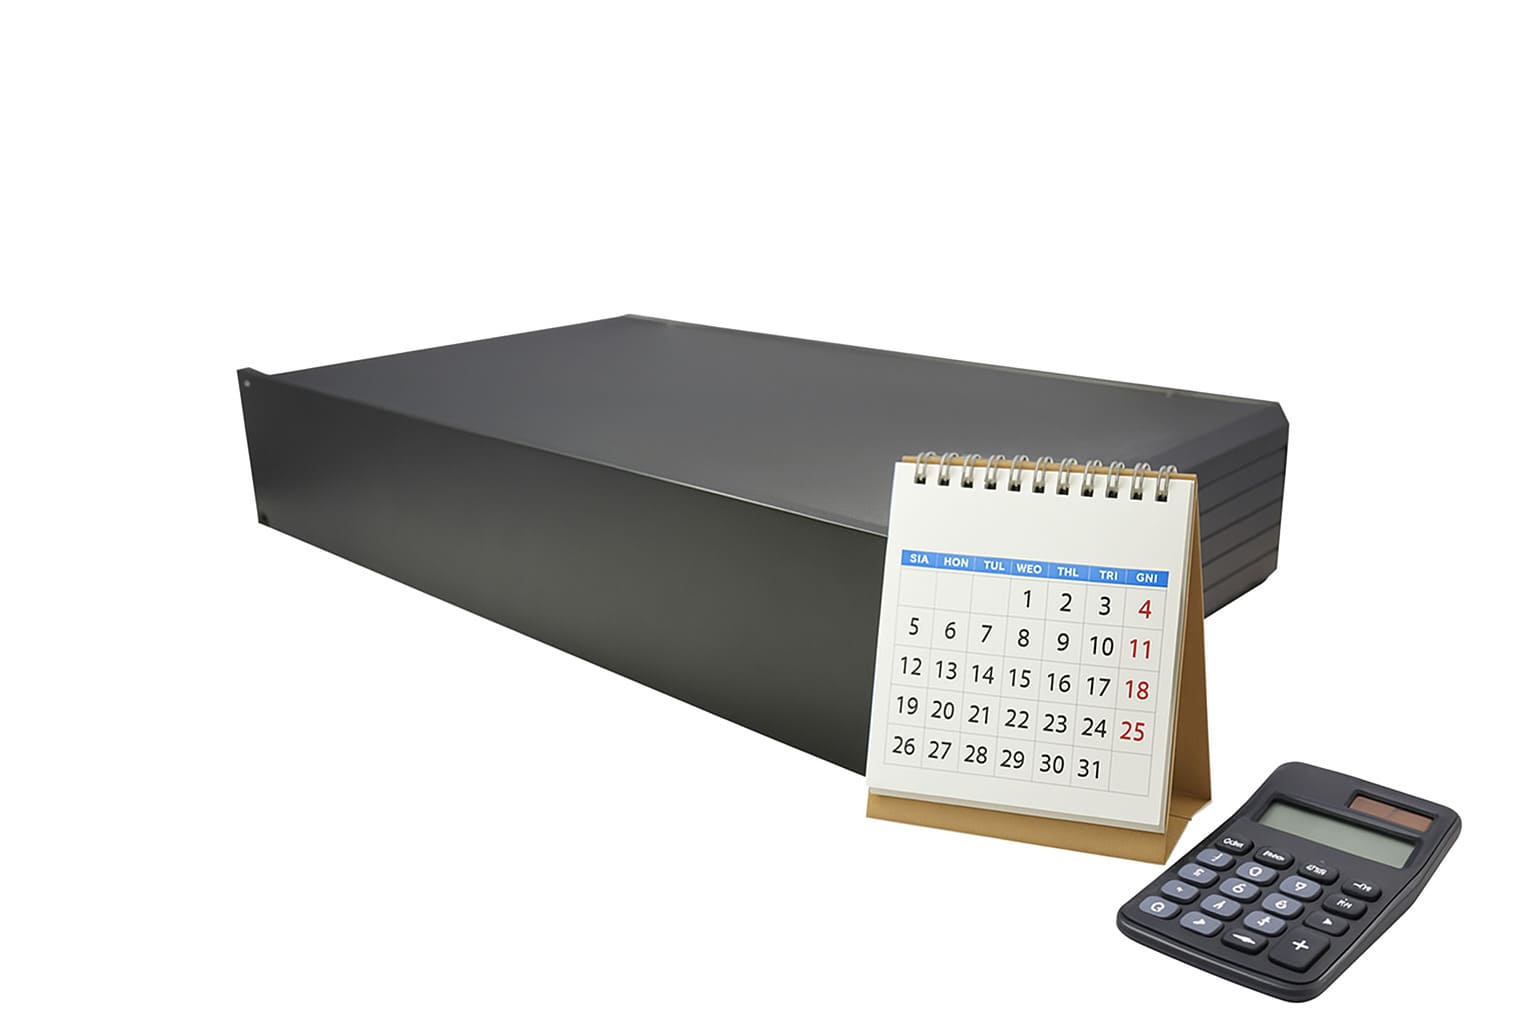
How much does a sample cost and how long does it take?
You need to plan your project, but suppliers are vague about the cost and timing for a prototype. This uncertainty makes it impossible to create an accurate budget or a reliable schedule.
A standard sample1 may be free or have a nominal fee. A fully custom CNC-machined prototype can cost from $200 to over $1,000 and typically takes 7-15 business days, depending on the complexity, size, and finish.
 “Cost and lead time for a rackmount enclosure sample”
Budgeting for Time and Money
Understanding the investment in a prototype is key to project planning. The cost and lead time reflect the reality of high-precision, low-volume manufacturing.
Understanding the Cost
The cost of a one-off custom prototype covers much more than just the raw aluminum. It includes the time for an engineer to review your files and program the CNC machine, the machine setup and run time, the multi-step chemical process of anodizing, and a final quality control inspection. These are high-touch activities that are amortized over thousands of units in mass production but must be fully covered for a single sample. Be wary of a quote that seems too good to be true; it often means corners are being cut on material grade, finish durability, or quality checks.Why Reliable Lead-Times are Critical
For an engineer managing a tight schedule, a reliable lead time is priceless. A fast turnaround of 7-15 business days allows for rapid design iterations, which is a major competitive advantage. If a supplier quotes 4-6 weeks, it’s a huge red flag that they are outsourcing different steps of the process to multiple vendors. This introduces massive risks of delays and quality issues. At PUMAYCASE, our 4,500 m² integrated facility with CNC, anodizing, and printing under one roof gives us full control over the schedule. This allows us to confidently offer the reliable lead times our clients depend on.
Conclusion
Requesting a sample is a crucial step. Clarify if you need a standard or custom version, provide detailed files, and confirm the cost and lead time to confidently validate your design.
Understanding standard samples helps you quickly assess supplier quality and make informed decisions. ↩ ↩
Exploring custom prototypes reveals their critical role in validating specific designs and ensuring fit. ↩
Learn about CAD files to ensure your designs are accurately translated into physical products. ↩
Material feel is a key factor in evaluating the overall quality and suitability of a product. ↩
Effective supplier vetting can save you from costly mistakes and ensure you choose the right partner. ↩ ↩
Prototype iterations are crucial for refining designs and improving product functionality. ↩
Effective timeline management is essential for meeting deadlines and ensuring project success. ↩