How Can I Procure 2U Rackmount Cases Efficiently and Without Risk?
Your 2U rackmount project is approved, but sourcing the enclosure feels like a gamble. Pick wrong, and you’re facing production delays, blown budgets, and catastrophic field failures. There’s a better way.
To procure 2U rackmount cases1 with low risk, you must follow a structured, seven-stage process. This involves defining detailed technical specifications2 upfront, rigorously vetting suppliers for engineering capability (not just price), and using a formal prototyping and validation3 stage before committing to mass production4.
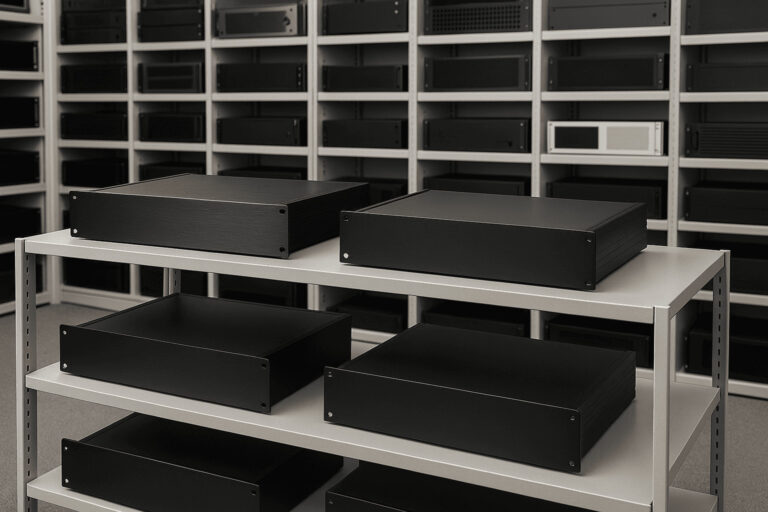
 "Custom 2U rackmount enclosure"
This disciplined approach transforms procurement from a risky transaction into a predictable engineering process. Let's break down the most critical stages where engineers often get stuck.
What Critical Specs Must I Define Before Contacting Suppliers?
You send out a request for a "standard 2U enclosure" and get wildly different quotes. The cheap ones seem tempting, but you have a nagging feeling you’re missing something important.
Go far beyond basic dimensions. A robust spec sheet must detail your thermal management5 requirements, EMC shielding6 needs, material grade and thickness7, specific load-bearing points8, and required surface finish9. This document is your single source of truth and your most powerful negotiation tool.
 "Detailed enclosure design specification"
I see this mistake constantly. An engineer focuses entirely on the electronics, treating the enclosure as a simple box to be sourced at the end. This is a recipe for failure, especially with power-dense 2U systems.
The Front-Loading Principle
The most efficient way to de-risk procurement is to invest time in the "pre-work." A detailed specification forces you to think through the entire system's lifecycle. How will it be cooled? How will it be serviced? What are the shock and vibration requirements? Answering these questions before you even talk to a supplier like me saves weeks of back-and-forth and costly prototype revisions.
A common misconception is that "EIA-310 compliant" is all a supplier needs. That only covers the rack interface. It says nothing about your board's mounting pattern, the 120W of heat your processor generates, or the need for a specific aluminum alloy (e.g., 6061-T6 for strength vs. 5052-H32 for formability).
Case Example: The Overheating Gateway
A client in the smart grid industry came to us after their first production run10 of an IoT gateway failed thermal testing. Their previous supplier delivered a beautiful-looking 2U case, but it was an oven. Their original spec simply said "2U rackmount enclosure" and provided a STEP file of the external shape. There was no mention of the internal power supply generating 80W of continuous heat. We had to halt their production and re-engineer the enclosure, adding a custom extruded heatsink to the side panel and precisely located ventilation cutouts to create a passive convection chimney. The lesson? Your enclosure's primary job is functional, not just dimensional.
Your Essential 2U Spec Checklist
| Category | Key Specifications to Define | Why It Matters |
|---|---|---|
| Mechanical | Material (e.g., Aluminum 6061-T6), sheet thickness, key tolerances, load points (e.g., supporting a heavy transformer), hardware (PEMs, standoffs). | Prevents mechanical failure, ensures PCB fitment, and guarantees structural integrity under load. |
| Thermal | Total TDP (Thermal Design Power) of all components, target internal ambient temp, airflow path (intake/exhaust zones), heatsink requirements. | The #1 cause of electronic failure is heat. Defining this ensures your enclosure is a thermal solution, not a problem. |
| EMC/EMI | Shielding effectiveness target (dB), gasket material (e.g., BeCu, conductive silicone), grounding points, aperture control. | Prevents failed EMC compliance tests, which can delay a product launch by months. |
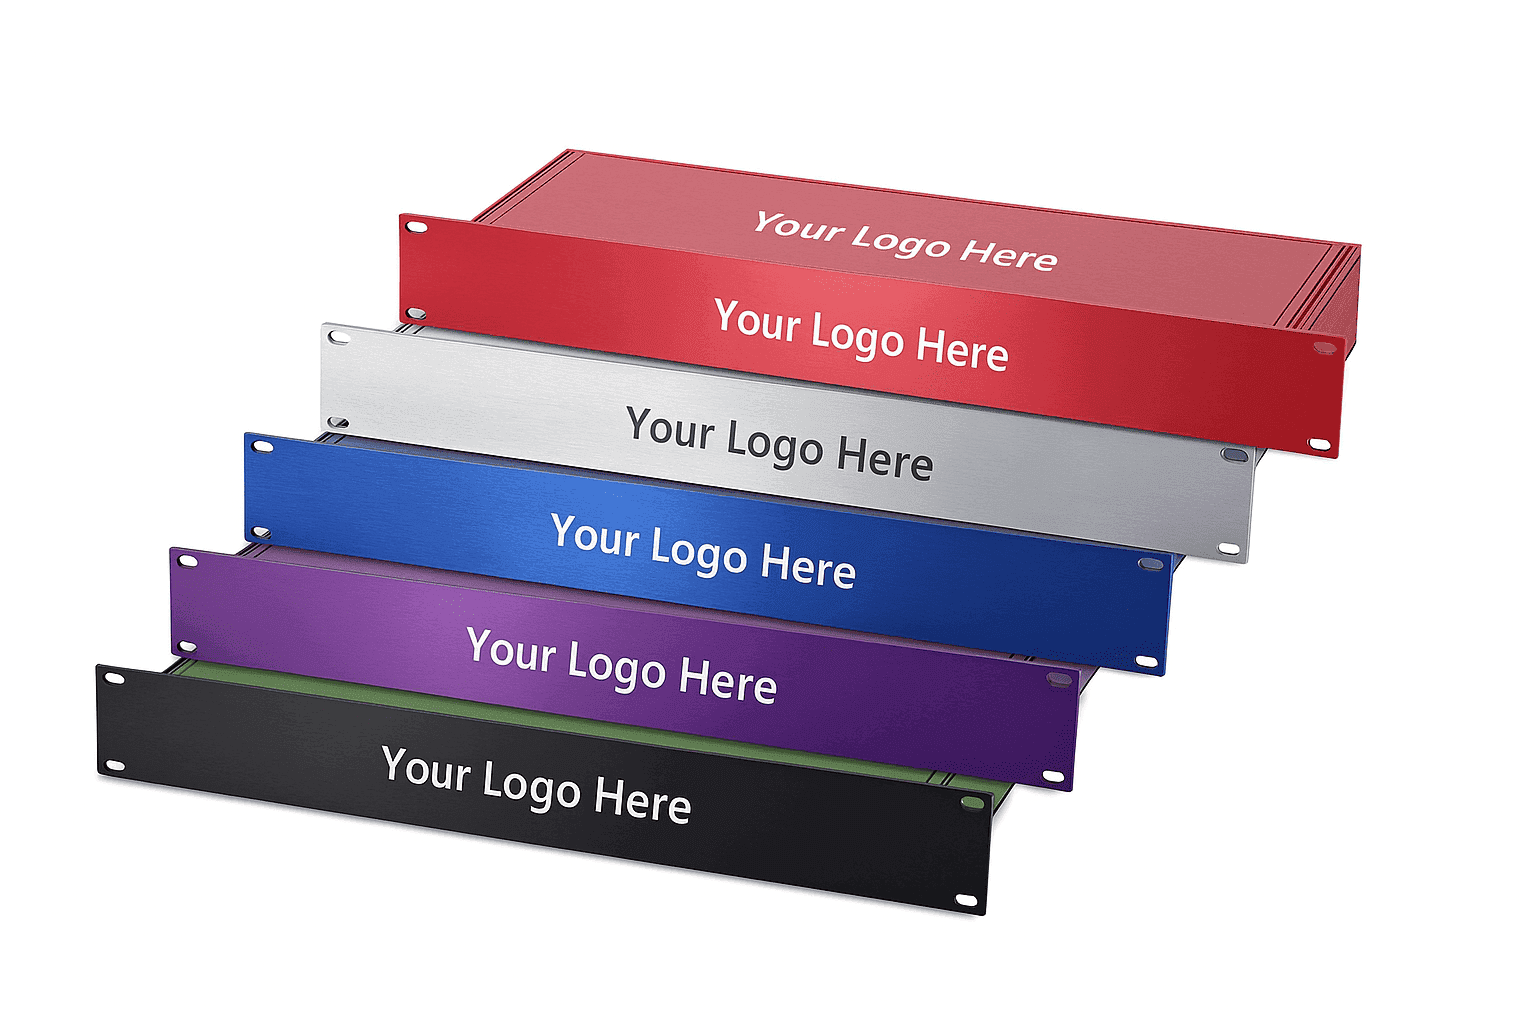
| I/O & Access | Precise locations and dimensions for all connectors, LEDs, and buttons. Serviceability needs (e.g., removable top panel, slide-out trays). | Ensures usability and compatibility with external cabling and simplifies future maintenance. |
| Finishing | Surface treatment (e.g., anodizing, powder coating), color codes (RAL/Pantone), silk-screening/engraving artwork. | Guarantees brand consistency and durability against corrosion and scratching. |
How Do I Separate High-Capability Suppliers From Low-Cost Risks?
You’ve shortlisted three suppliers. One is significantly cheaper but sends one-line email replies. The others are more expensive but ask probing technical questions. It’s tempting to save budget, but what are you risking?
Evaluate suppliers as engineering partners, not just vendors. A capable partner will demand your technical specs, provide a detailed Design for Manufacturability (DFM)11 report before you pay for tooling, and show you case studies of functionally similar projects they've completed.
 "Design for Manufacturability (DFM) analysis"
The price of a prototype is a poor indicator of a supplier's true value or cost. In my 10+ years in this industry, I’ve seen countless projects derailed by choosing a supplier based on a cheap initial sample.
The Prototype vs. Production Trap
A common tactic from low-end shops is to create a "golden" prototype using their best machinists and manual processes. It looks perfect, so you approve it. But the full production run is done on different machines with looser calibrations or by less-skilled operators. Suddenly, tolerances are off, finishes are inconsistent, and PEM nuts are misaligned.
A true manufacturing partner guarantees that the process used for your prototype is the same one used for production. They can provide documentation on their process controls and quality checks. This is a non-negotiable point for us at Pumaycase. We provide a First Article Inspection (FAI)12 report with every new production run that proves the parts meet every dimension on your drawing.
Three Questions to Vet Any Supplier
When you're on a call, cut through the sales pitch with these questions:
- "Can you show me a 2U enclosure you built for a similar power/thermal load or EMC requirement?" Their answer reveals if they understand your functional challenges, not just the shape.
- "What does your DFM process look like, and can I see a sample report?" A good DFM report is a detailed analysis of your design, suggesting changes to improve strength, reduce cost, or simplify assembly. If they don't have a formal DFM process, they are a machine shop, not an enclosure solutions partner.
- "How do you ensure consistency between the approved prototype and the 1000th unit in the production run10?" Look for answers that mention specific quality control processes13 like FAI, in-process checks14, and final QC reports with documented measurements.
Here’s how a partner stacks up against a low-cost vendor:
| Feature | Low-Cost Vendor | Manufacturing Partner |
|---|---|---|
| DFM Analysis | None, or a basic check for impossible features. | Detailed report suggesting cost/performance improvements. |
| Material Certs | Generic "Aluminum" claim. | Provides full material traceability certificates upon request. |
| Tolerance Guarantee | Vague "standard tolerances." | Commits to specific tolerances on your drawing and provides inspection reports. |
| Engineering Support | "Send STEP file, we will make." | Proactively asks questions about heat, load, and assembly. |
What Does a Reliable Production and QC Process Actually Look Like?
Your prototype was perfect and you approved it. But now the first 50 units have arrived, and 10 of them have misaligned front panel cutouts. Your production line is down, and your launch date is at risk.
A reliable process is built on clear, agreed-upon standards before production begins. This includes designating an approved "golden sample15," establishing a formal quality inspection plan with critical-to-function dimensions, and demanding transparency from your supplier throughout the run.
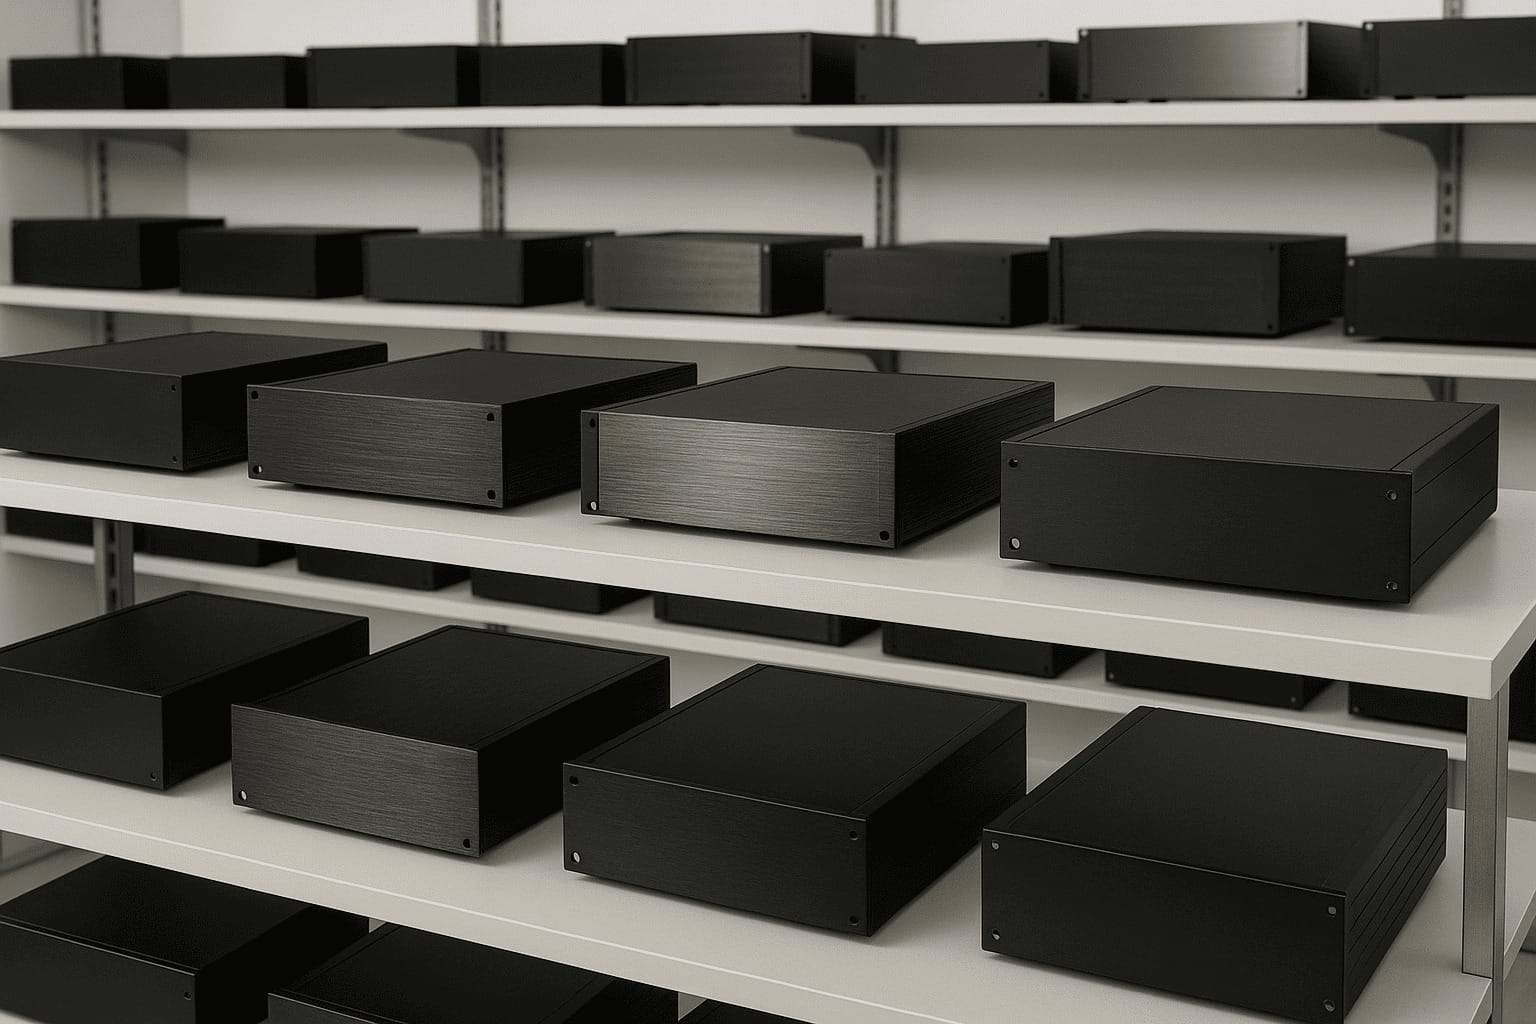
 "Rackmount chassis quality control"
Success in manufacturing isn't about blind trust; it's about building a system of verification. You can't be on the factory floor yourself, so you need your supplier's process to work for you.
The Power of a "Golden Sample"
Once you approve a prototype, have the supplier seal it, sign it, and keep it on their production floor as a physical reference. This becomes the "golden sample"—the undisputed benchmark for the entire production run. It’s the standard against which all subsequent parts are compared for finish, color, and overall feel. Digital files are great for dimensions, but nothing beats a physical part for subjective qualities.
The 7 Stages of Low-Risk Procurement
This is the full process we guide our clients through. Skipping a step introduces risk.
- Stage 1: Detailed Specification. The foundation you built with your checklist.
- Stage 2: Supplier Vetting. Using the three key questions to find a true partner.
- Stage 3: RFQ & DFM Review. You send your spec; they return a quote and a DFM report. This is a technical dialogue.
- Stage 4: Prototype Manufacturing. The first article is produced using the intended mass-production process.
- Stage 5: Prototype Validation. You test the prototype against all your requirements: thermal, mechanical, EMC, and assembly.
- Stage 6: Mass Production Kick-Off. You give the green light based on the approved prototype and a clear quality plan.
- Stage 7: In-Process QC and Final Inspection. The supplier performs checks during the run and a final check before shipping, providing you with the report.
A client in the medical device field was struggling with inconsistent anodizing across batches from their old supplier. By implementing Stage 7 with us—specifically a final QC check using a spectrophotometer to digitally measure color against a defined range—we eliminated the inconsistency. Their batch acceptance rate went to 100%.
Conclusion
Procuring a 2U rackmount case isn't a simple purchase; it is an engineering discipline. By embracing a structured process, you change your role from a buyer into an architect of reliability.
Explore this resource to learn effective strategies for sourcing 2U rackmount cases with minimal risk. ↩
Understanding how to define technical specifications can significantly improve your procurement process. ↩
Learn why prototyping and validation are crucial steps in the manufacturing process to avoid costly mistakes. ↩
This resource outlines the essential steps to ensure successful mass production of your enclosures. ↩
Discover effective thermal management practices to ensure the reliability of your electronic enclosures. ↩
This resource provides insights into achieving effective EMC shielding for your designs. ↩
Explore the importance of selecting the right material grades and thickness for durability and performance. ↩
Learn how to identify load-bearing points to ensure structural integrity in your designs. ↩
This resource discusses various surface finishes and their impact on durability and aesthetics. ↩
Learn about common challenges faced during production runs and how to mitigate them. ↩ ↩
Understanding DFM can help you optimize your designs for production efficiency and cost-effectiveness. ↩
Learn about FAI and how it ensures that your production meets the required specifications. ↩
Explore effective quality control processes to maintain high standards in your production runs. ↩
Learn about in-process checks and their role in maintaining quality during production. ↩
Discover the concept of a golden sample and its importance in ensuring production consistency. ↩