Struggling with dust, moisture, or even air leaks compromising your electrical components? These issues can lead to costly failures. The good news is, creating an airtight seal is achievable with the right approach.
To make an electrical box airtight, you need a combination of a suitably rated enclosure (like NEMA or IP rated), high-quality gaskets, properly installed cable glands or conduit seals, and appropriate non-hardening sealants applied to all potential entry points.
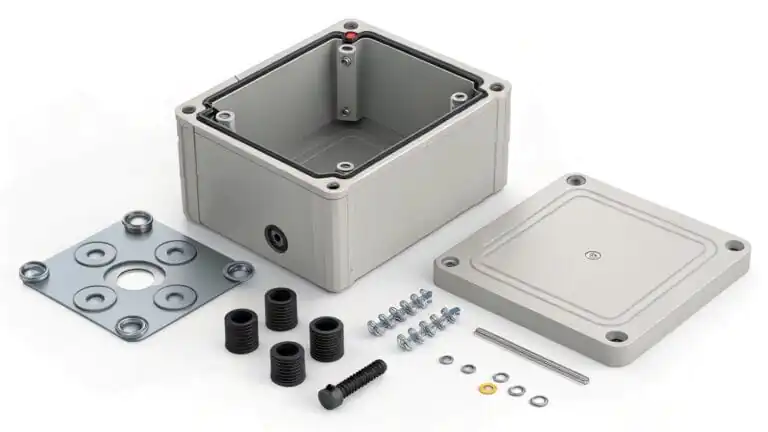
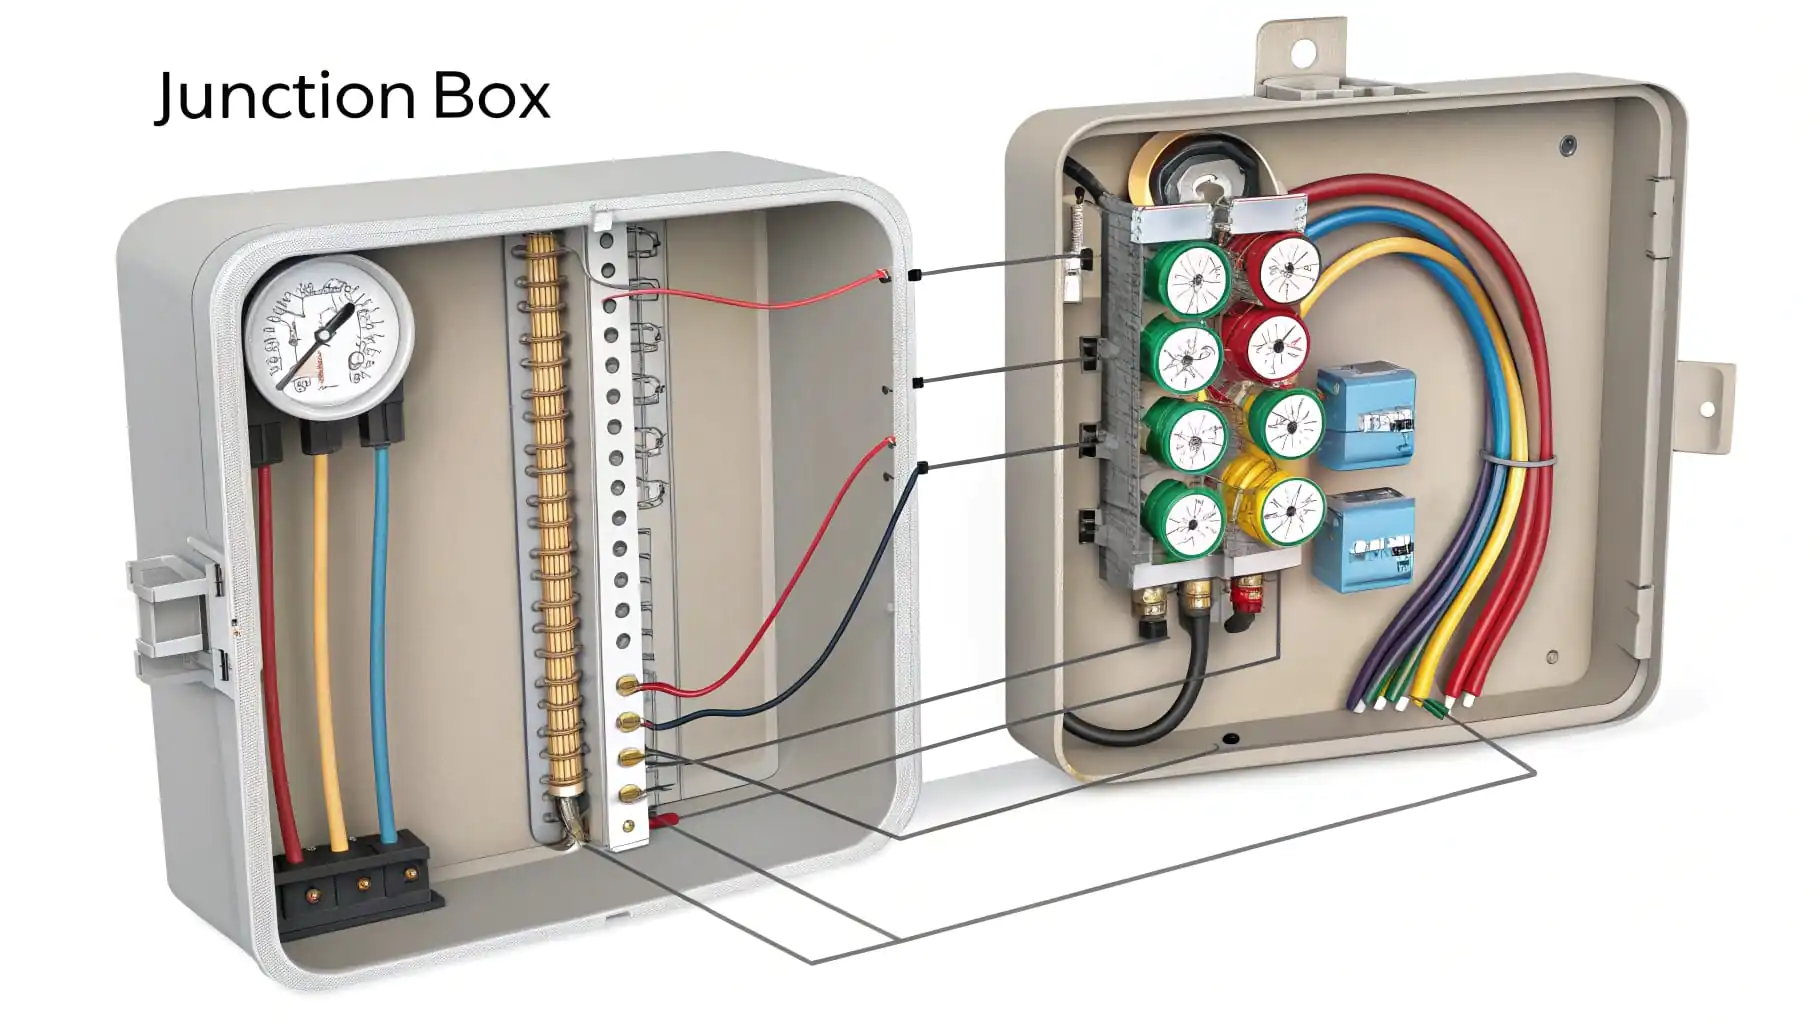
 Components for an airtight electrical box”
Achieving a truly airtight seal isn't just about slapping some silicone on; it's a systematic process. If you want to protect sensitive electronics or maintain specific environmental conditions, understanding each step is key. Let's explore how to get it right.
What are the Key Components for an Airtight Seal?
You've tried sealing boxes before, but leaks persist. It's frustrating when your efforts don't deliver. Focusing on the specific, correct components is the first step to success.
The essential components for an airtight seal include an enclosure designed for sealing (often with NEMA or IP ratings), well-fitting gaskets made from durable materials like silicone or EPDM, correctly sized cable glands, and suitable sealants for any remaining gaps.
 “Gaskets and cable glands display”
Choosing the Right Enclosure
The box itself is your first line of defense. Not all electrical boxes are created equal when it comes to sealing.
- Look for NEMA or IP Ratings: These standards define protection levels. For airtightness, you'll often look for something like NEMA 4X (watertight, dust-tight, corrosion-resistant) or IP67 (dust-tight and immersible in water up to 1 meter). I remember a project early in my career where we used a general-purpose box for an outdoor sensor. After the first big rain, we learned a hard lesson about IP ratings!
- Material Matters: Polycarbonate and die-cast aluminum are common for sealed enclosures because they are stable and can be molded precisely for good gasket seating.
- Lid Design: Lids with a continuous groove for a gasket and multiple fastening points are generally better.
The Role of Gaskets
Gaskets create the actual seal between the box and its lid.
- Types: You'll commonly find O-rings (circular cross-section, good for specific groove designs) or flat gaskets (cut to shape, common for lids).
Materials: The material determines resilience and suitability.
Gasket Material Common Uses & Properties Silicone High-temperature resistance, good compression set EPDM Excellent weather, UV, and ozone resistance Neoprene Good oil resistance, general purpose Viton™ Excellent chemical resistance, high temp Choosing the wrong material can lead to the gasket degrading quickly. I once saw a neoprene gasket crumble in an application with constant UV exposure; EPDM would have been the better choice.
Cable Entry Sealing
Wires entering the box are major leak points.
- Cable Glands: These fittings grip the cable and seal against the box wall. Ensure the gland's clamping range matches your cable diameter.
- Conduit Seals: If using conduit, special sealing fittings or compounds are needed where the conduit enters the box.
- Bulkhead Connectors: For some applications, pre-sealed connectors mounted through the box wall are ideal.
How Do You Properly Install Gaskets and Seals?
You have all the right parts, but the box still isn't airtight. It's incredibly annoying to have to redo work because of a small installation error. The secret often lies in the technique.
Proper installation involves meticulous surface preparation, careful gasket placement without stretching or twisting, progressive and even tightening of fasteners, and judicious use of sealant only where truly necessary.
 Technician installing gasket on enclosure lid”
Surface Preparation is Crucial
This is a step many people rush, but it's foundational.
- Cleanliness: Remove all dust, dirt, oil, grease, and any old sealant or gasket material from the box and lid mating surfaces. I use isopropyl alcohol for a final wipe-down. I once spent hours troubleshooting a leak, only to find a tiny piece of debris trapped under a gasket – a frustratingly simple fix I could have avoided.
- Inspect Surfaces: Check for any nicks, scratches, or warping on the sealing surfaces. A damaged surface can prevent a gasket from seating correctly. Minor imperfections can sometimes be filled with sealant, but significant damage might mean the box isn't suitable.
Gasket Application Techniques
How you place the gasket matters.
- Alignment: Ensure the gasket is perfectly seated in its groove or aligned correctly on a flat surface. Avoid any twists or kinks.
- Compression: Gaskets are designed to be compressed by a certain amount. Over-compressing can damage the gasket or even distort the box/lid, leading to leaks elsewhere. Under-compressing won't create an effective seal. If the manufacturer provides torque specs for fasteners, use them.
- Adhesives: Some gaskets come with an adhesive backing to hold them in place during assembly. If applying adhesive yourself, use it sparingly – just enough to tack the gasket.
Fastener Tightening Sequence
This helps ensure even pressure on the gasket.
- Progressive Tightening: Don't fully tighten one fastener before moving to the next. Snug them all up lightly first.
Pattern: For multiple fasteners, use a star or crisscross pattern, similar to tightening lug nuts on a car wheel. This distributes pressure evenly.
For example, on a rectangular lid with 6 screws:Step Action 1 Lightly snug all screws. 2 Tighten screw 1 (corner) to 50% torque. 3 Tighten screw 6 (opposite corner) to 50%. 4 Tighten screw 3 (middle) to 50%. 5 Tighten screw 4 (opposite middle) to 50%. 6 Tighten screw 2 then 5 to 50%. 7 Repeat pattern to 100% torque. This systematic approach has saved me from many "mystery leaks" caused by warped lids.
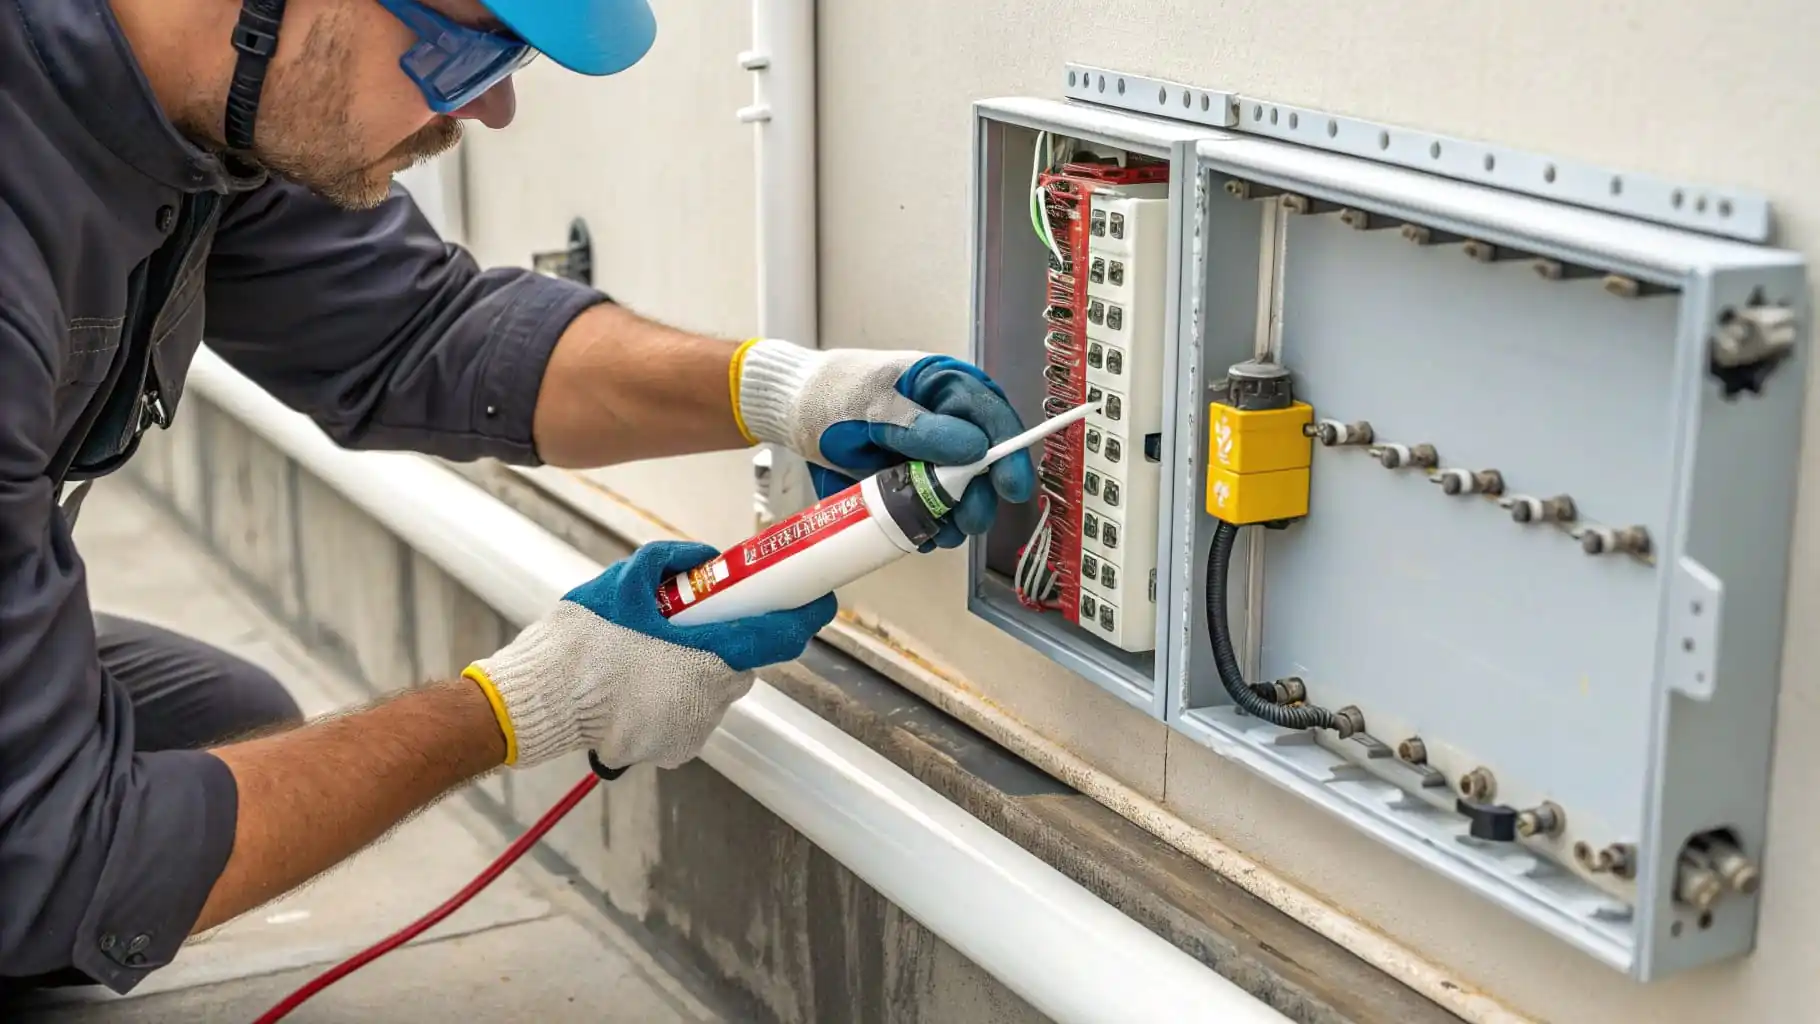
What Sealants Work Best for Electrical Enclosures?
You've picked a sealant, but it either fails quickly or, worse, damages your components. The world of sealants is vast, and choosing incorrectly can lead to headaches.
For electrical enclosures, non-hardening, non-corrosive sealants like neutral-cure silicone RTV (Room Temperature Vulcanizing) or specialized electrical potting compounds are generally best. Avoid acidic-cure silicones, as they can corrode electronics.
![] Applying silicone sealant to an electrical enclosure”
Understanding Sealant Types
The chemistry of the sealant is important.
- Silicone RTV:
- Neutral Cure: Releases alcohol or other non-acidic byproduct as it cures. Generally safe for electronics. This is my go-to for most general sealing.
- Acidic Cure (Acetoxy): Releases acetic acid (smells like vinegar) as it cures. This acid can corrode copper, brass, and other metals, and damage sensitive electronic components. I learned this the hard way when I saw green corrosion on PCB traces near where I'd used an acetoxy cure silicone. Lesson learned!
- Polyurethane Sealants: Offer very strong adhesion and good flexibility. Can be a bit messier to work with but are excellent for demanding applications.
- Polysulfide Sealants: Known for fuel and chemical resistance.
- Electrical Potting Compounds: These are typically two-part epoxies or polyurethanes designed to completely encapsulate components or fill voids, providing a robust seal and mechanical protection.
Application Tips for Sealants
A good sealant applied poorly won't do its job.
- Clean Bead: Apply a continuous, appropriately sized bead of sealant. Avoid breaks or excessive amounts.
- Tooling: After applying, "tool" the bead by smoothing it with a wetted finger (wear gloves!) or a specialized tool. This ensures good contact with both surfaces and a neat finish.
- Cure Time: Allow the sealant to cure fully according to the manufacturer's instructions before putting the enclosure into service or testing the seal. Rushing this can compromise the seal.
Where to Apply Sealant
Sealant isn't a replacement for good gaskets or cable glands but can supplement them.
- Cable/Conduit Entries: Even with cable glands, a small dab of sealant around the gland's base on the outside of the box can provide extra assurance. For conduit entries, sealant is often essential.
- Seams or Joints: For multi-part enclosures or those with panel cutouts, sealant can be applied to the seams.
Fastener Heads: In some very critical applications, sealant might be applied over fastener heads after tightening, though this is less common if the primary seal (gasket) is sound.
Sealant Type Common Electrical Application Area Key Benefit Neutral Cure RTV Gasket supplement, cable glands, general sealing Non-corrosive, flexible Polyurethane High-stress joints, exterior seams Strong adhesion, tough Potting Compound Encapsulating internal components, filling voids Complete environmental seal
How Can You Test the Airtightness of Your Box?
You've assembled your box and believe it's airtight. But discovering a leak only after equipment failure or during a critical operation is a nightmare. A little testing upfront can save a lot of trouble.
Simple tests include a thorough visual inspection, a low-pressure air test using soapy water (bubble test), or a smoke test. For more critical needs, formal IP ingress testing might be required.
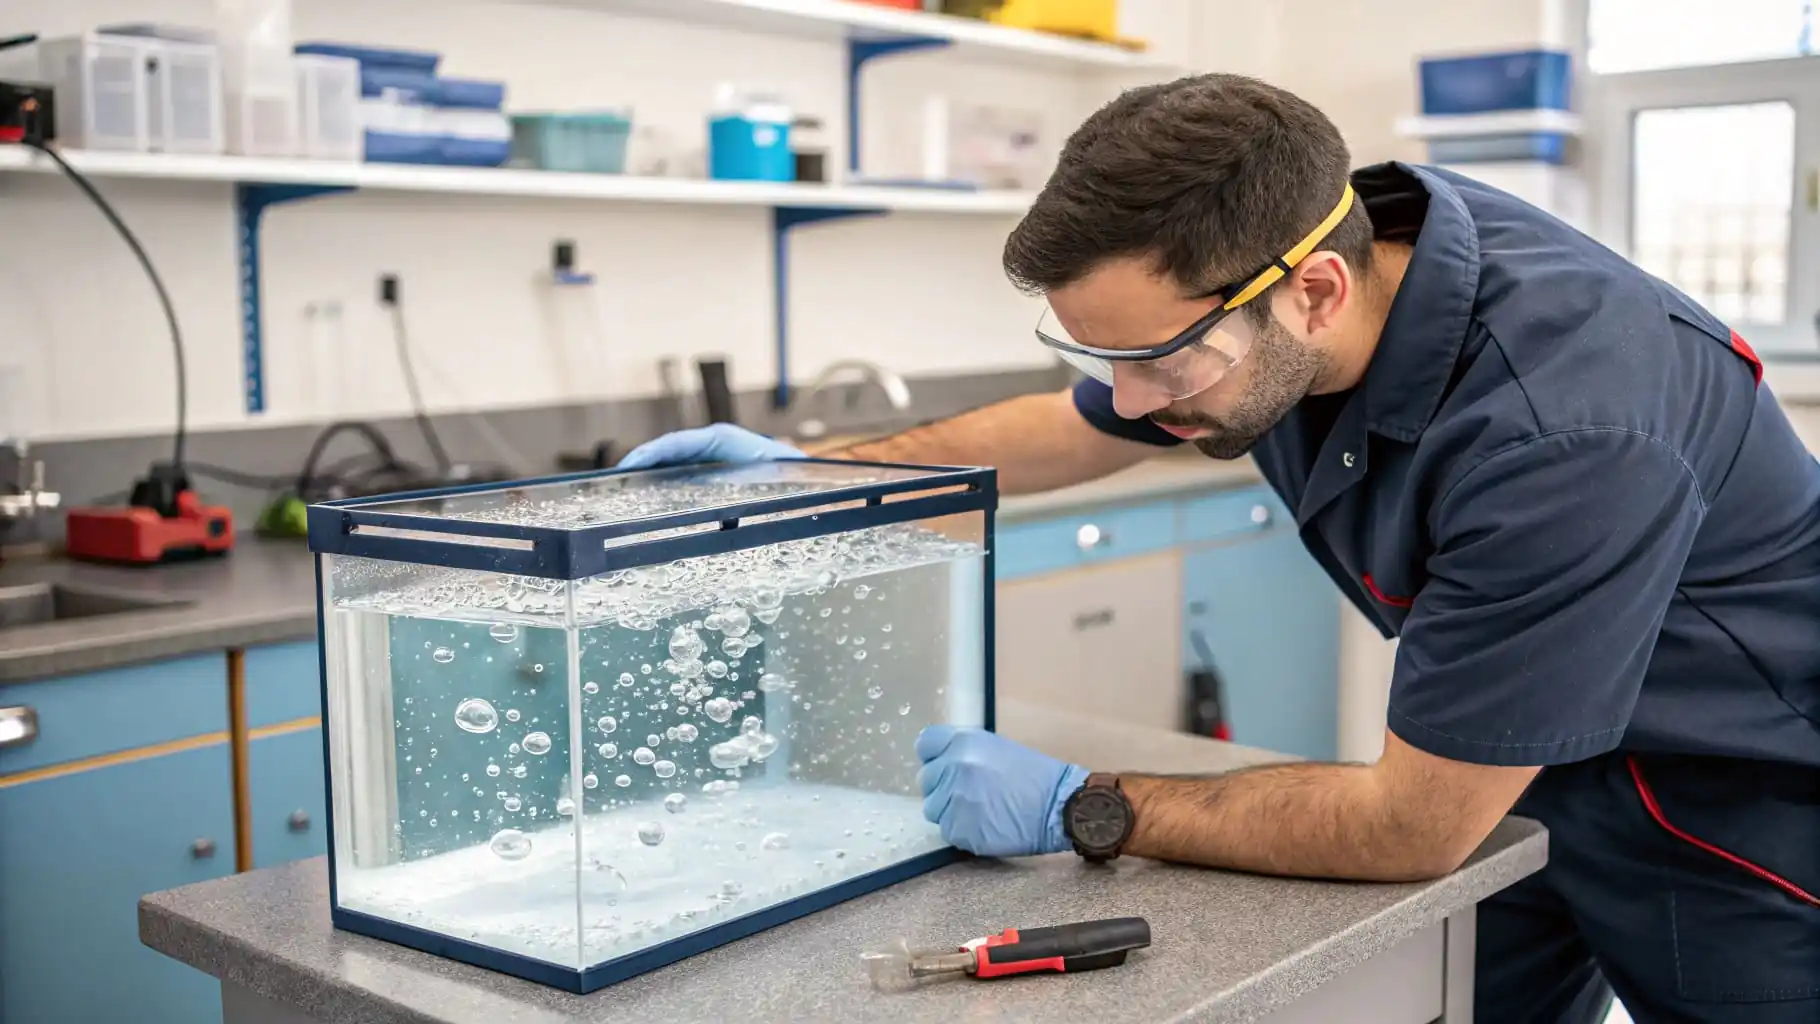 Bubble test for airtightness on an electrical box”
Visual Inspection Checklist
Your eyes are your first testing tool. I always do this, and it's surprising what you can catch.
- Gasket Compression: Is the gasket evenly compressed around the entire perimeter? Look for areas where it might be pinched or not making contact. I once found a tiny piece of wire insulation caught under a gasket just by looking closely – it would have definitely caused a leak.
- Gaps or Misalignment: Are there any visible gaps between the lid and box, or at cable entry points?
- Cable Glands/Connectors: Are all cable glands tightened securely? Are connectors properly seated?
- Fasteners: Are all screws or latches properly engaged and tightened?
Simple DIY Tests
These don't require fancy equipment.
- Soap Bubble Test:
- Seal all openings except one.
- Through the remaining opening, apply very low air pressure into the box (a hand pump or even just blowing gently can sometimes suffice). Be careful not to over-pressurize and damage the box or seals.
- Apply a solution of soapy water to all seams, gasket edges, and cable entry points.
- Look for bubbles forming, which indicate air leaks.
- Smoke Test:
- Introduce smoke (from a smoke pen, incense stick, or specialized smoke generator) into the sealed enclosure.
- Observe the outside of the box for any escaping smoke. This is best done in a still environment.
Limitations: These tests are good for finding gross leaks but might not detect very small ones or quantify the sealing level.
When to Consider Professional Testing
For critical applications or if you need to certify to a standard:
- IP Rating Certification: If your product needs to meet a specific Ingress Protection (IP) rating (e.g., IP67), it must undergo standardized tests in a lab. These often involve dust chambers and water immersion or spray tests. My company, PUMAYCASE, actually provides IP67/IP68 validation reports for some of our enclosures, which saves clients a lot of hassle.
Pressure Decay or Vacuum Decay Tests: These more sophisticated tests involve pressurizing or creating a vacuum inside the box and measuring the rate of pressure change over time to quantify the leak rate.
Test Method Reliability Cost Typical Use Visual Inspection Low Very Low Initial check, basic quality control Soap Bubble Test Moderate Low Finding obvious leaks, field checks Smoke Test Moderate Low Visualizing leak paths IP Ingress Testing High (for IP spec) Moderate-High Product certification, critical applications Pressure/Vacuum Decay Very High High Quantifying leak rates, high-spec needs For most of my projects as a product engineer, a good visual check followed by a careful bubble test is sufficient for verifying the seal before deployment.
Conclusion
Creating an airtight electrical box involves selecting the right enclosure and components, careful installation, and appropriate testing. By following these steps, you can reliably protect your valuable electrical and electronic systems.