Your sensitive electronics[^1] are failing or giving weird readings. You suspect electromagnetic interference[^2] (EMI) is the culprit, but your standard metal box isn't helping.
Effective EMI/RFI shielding[^3] is achieved by creating a complete conductive cage. This involves using conductive aluminum[^4] and ensuring all seams, panels, and openings are sealed with conductive gaskets[^5] or materials to block electromagnetic waves[^6].
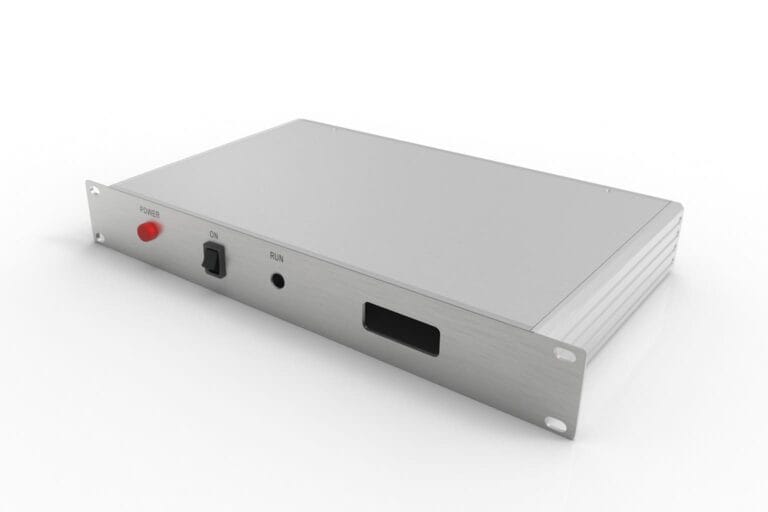
 “Effective EMI/RFI shielding[^3] for rack mount enclosures”
Protecting your sensitive electronics[^1] from interference is critical for performance and regulatory compliance. A rack enclosure[^7] is your first line of defense, but just putting your components in a metal box isn't enough to stop invisible EMI/RFI noise. Achieving true shielding requires thinking of the enclosure as a complete system, where every detail matters.
Isn't any metal box an EMI shield?
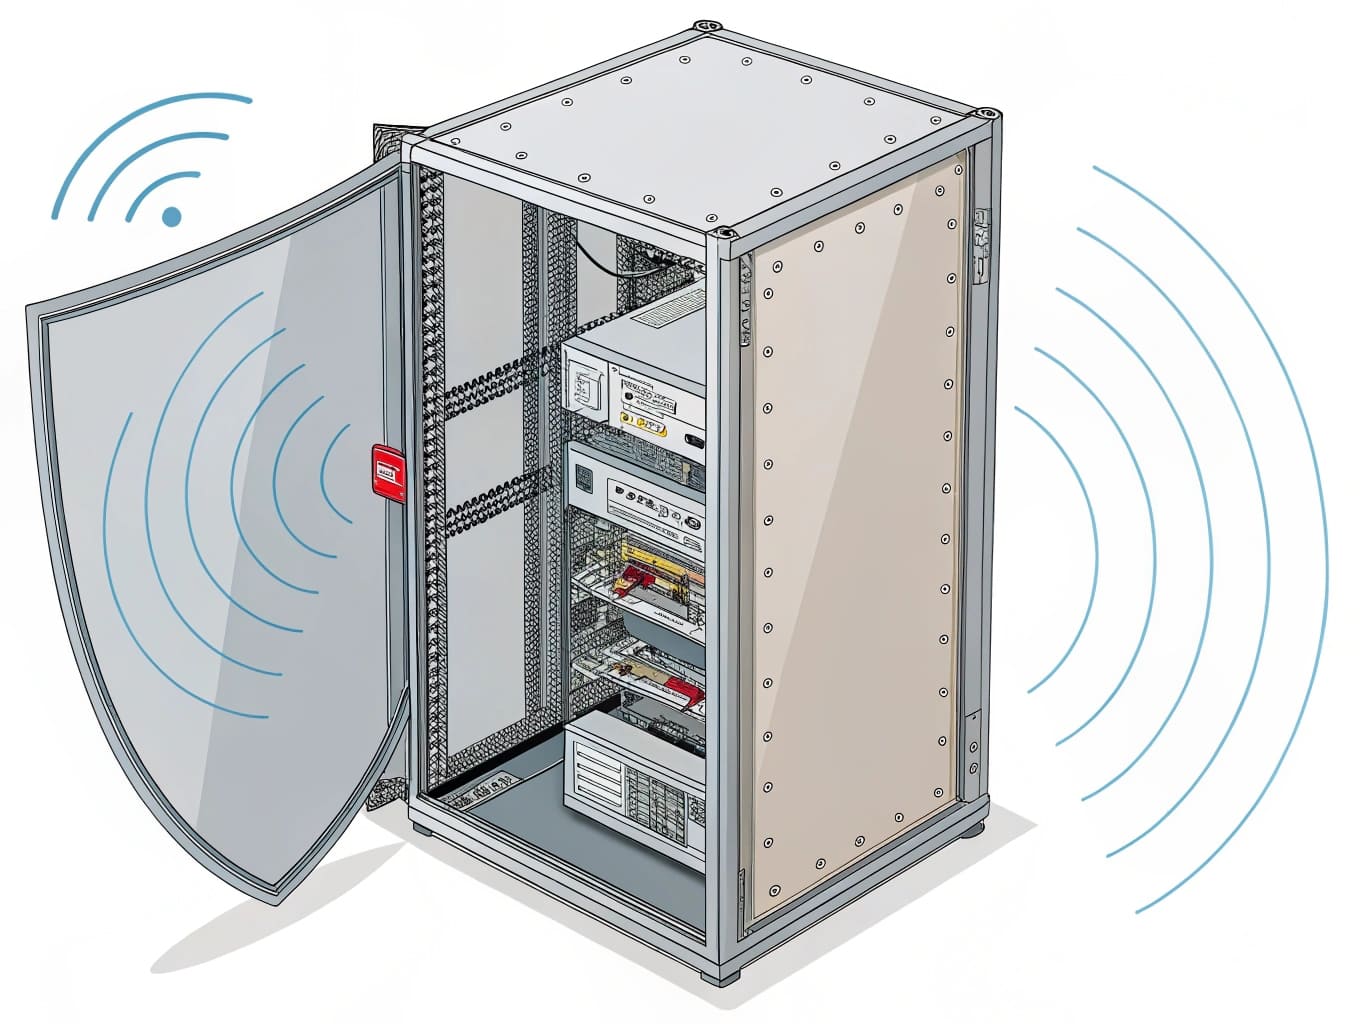
You put your electronics in a metal box, but interference persists. Gaps between panels act as open doors for EMI/RFI noise. True shielding requires sealing every seam electrically.
No. While the metal itself blocks waves, any gaps at panel seams[^8] or mounting holes act like antennas, letting noise leak in or out. Effective shielding requires making all parts electrically continuous, typically using conductive gaskets[^5] to close these gaps.
The Problem with Gaps
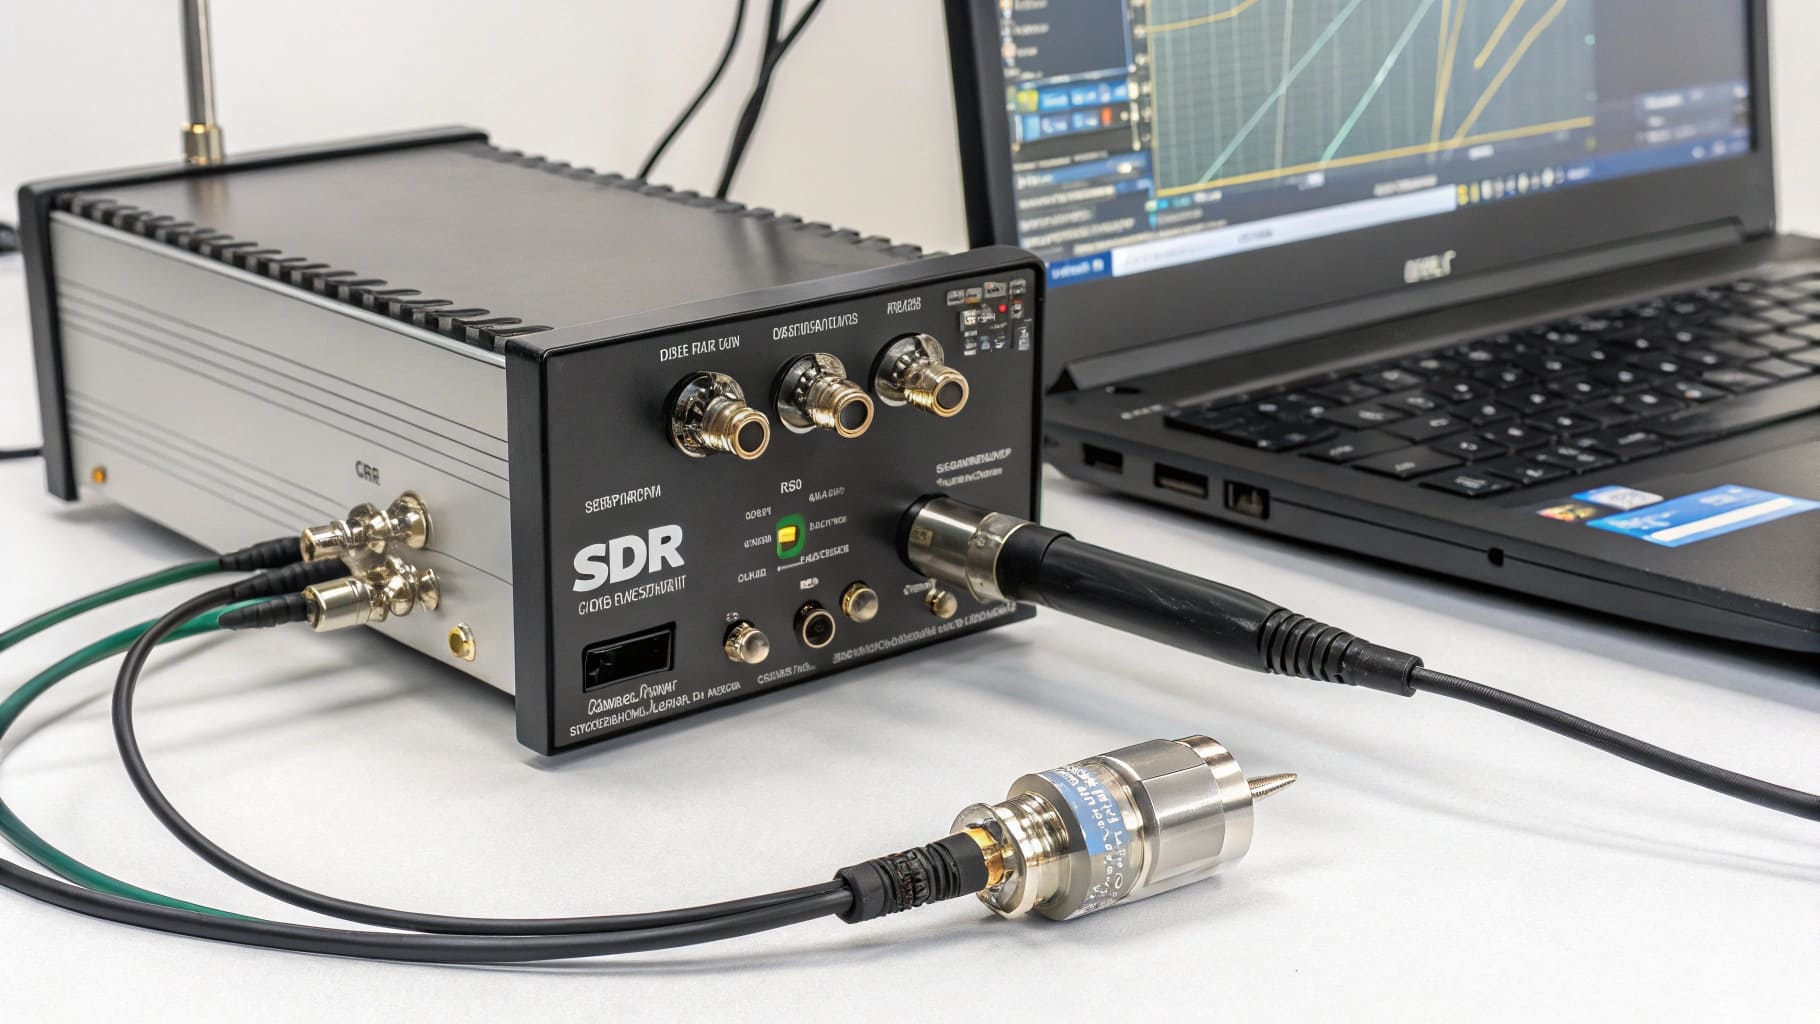
The core principle of EMI shielding is the Faraday cage[^9], which is an uninterrupted conductive enclosure. While the aluminum body of a rack case provides the main structure, the enclosure is assembled from multiple parts: a main body, a front panel, and a rear panel. Where these parts meet, you create seams. Even a tiny gap in these seams can act like a slot antenna, allowing electromagnetic energy to pass through, especially at higher frequencies. I’ve worked with many engineers who were frustrated because their power supply was creating noise that interfered with a sensitive sensor module in the same rack. The cause was often EMI leaking through the panel seams[^8]. True shielding requires that every panel is electrically bonded to the main chassis, creating one continuous conductive path. We achieve this by using special conductive gaskets[^5] made of silicone impregnated with conductive particles, which fill the gaps and ensure continuity.
| Feature | Standard Enclosure | Shielded Enclosure |
|---|---|---|
| Seams | Metal-to-metal (if un-finished) | Sealed with conductive gaskets[^5] |
| Continuity | Inconsistent, easily broken | Guaranteed electrical continuity[^10] across all surfaces |
| Performance | Poor shielding at high frequencies | High shielding effectiveness (>60 dB) |
How do you seal openings for cables and fans?
Your design needs openings for cables and fans. But each hole is a major leak point for EMI, compromising your shielding. Specialized shielded connectors[^11] and vents are the answer.
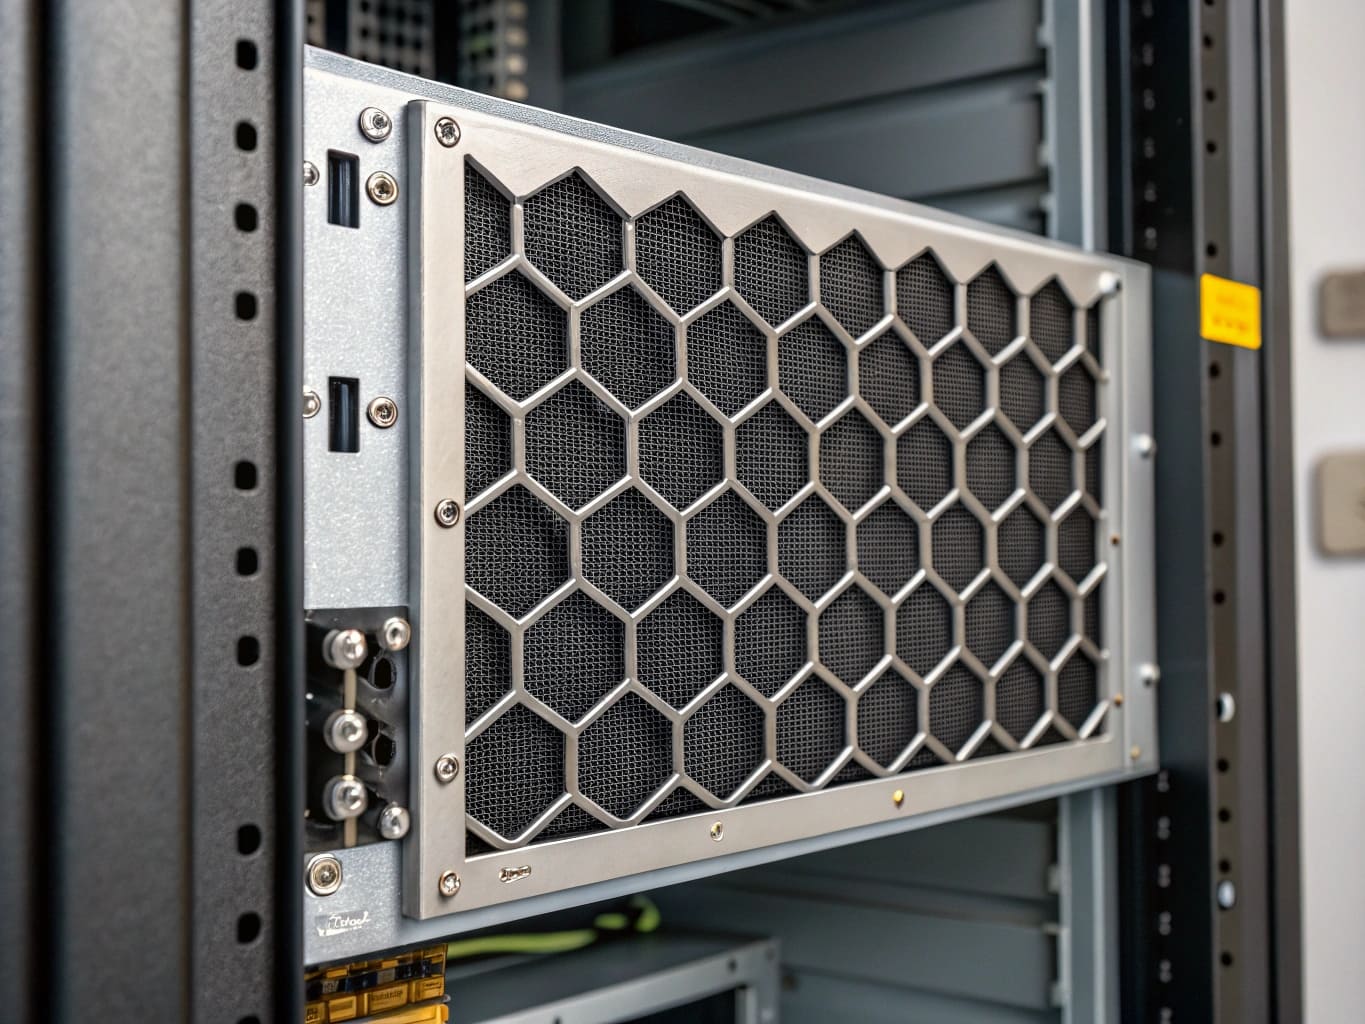
Cables are handled with shielded connectors[^11] that ground the cable shield to the enclosure. For ventilation, EMI honeycomb filters[^12] are used. These filters allow airflow but their small, conductive cells block electromagnetic waves[^6], maintaining the shield's integrity.
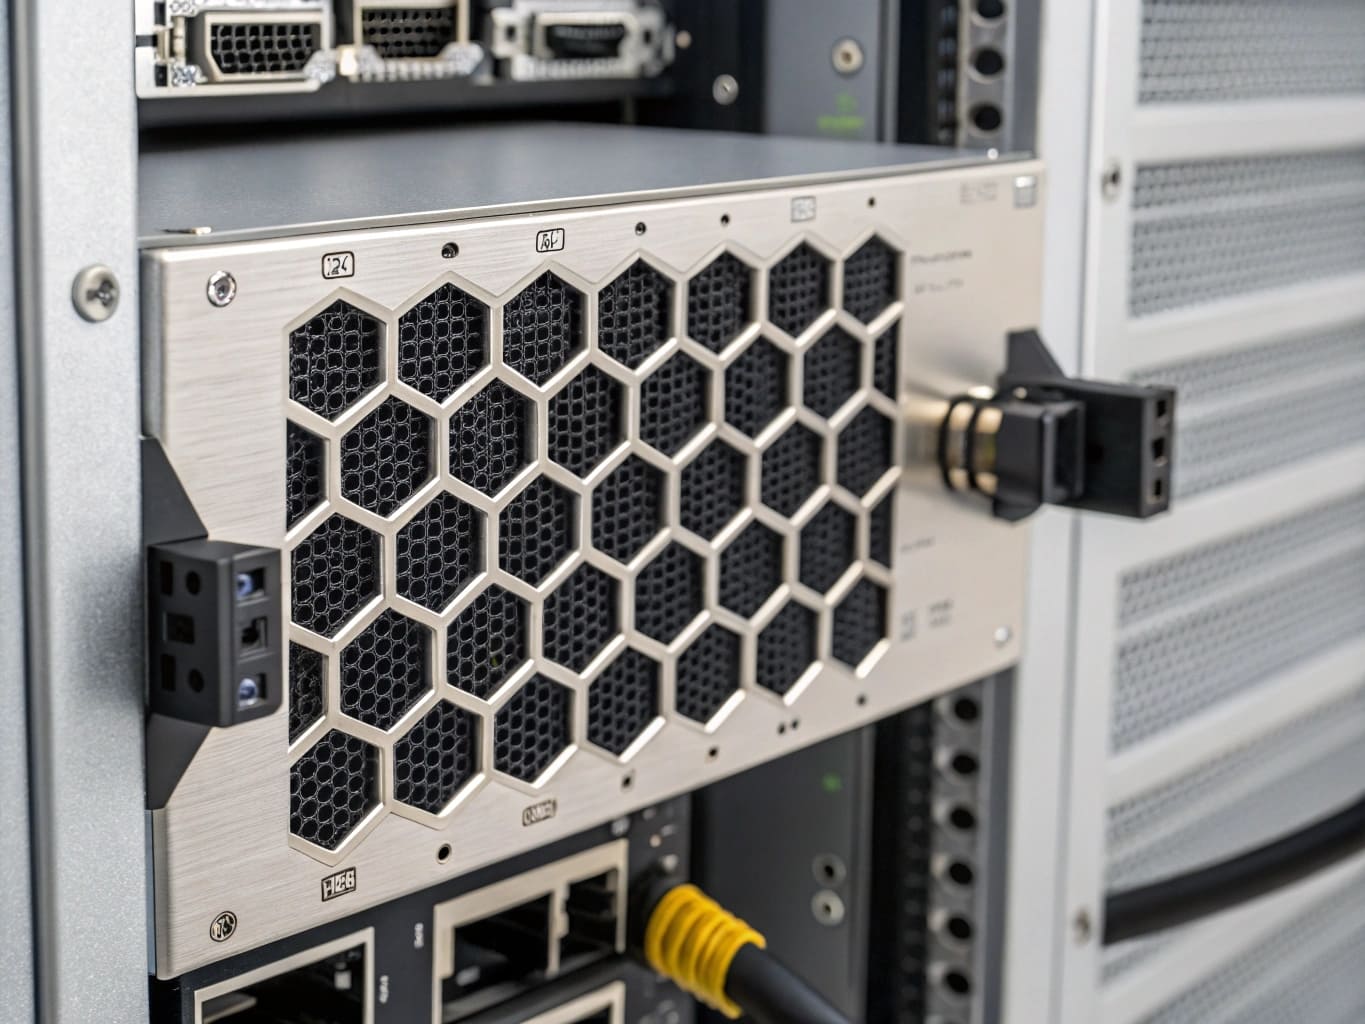 “Honeycomb EMI filter for shielded ventilation”
Maintaining the Cage Integrity
Of course, an enclosure with no openings is useless. Your product needs power, data ports, and often, ventilation. Each of these necessary holes is a potential breach in your Faraday cage[^9]. The solution is to use specialized components that allow signals or air to pass through while still blocking EMI. For cables, this means using shielded connectors[^11] (like D-subs or circular connectors) where the metal housing of the connector is bonded directly to the enclosure panel. This connects the cable's shield to your enclosure's shield. For ventilation, the gold standard is a honeycomb fan filter. These look like a thick metal mesh made of many small hexagonal tubes. Air can pass through easily, but the small size of each tube acts as a "waveguide below cutoff," effectively blocking electromagnetic waves[^6] from passing through. We often help clients source and integrate these components, simplifying their supply chain and ensuring the entire system, not just the box, is properly shielded.
Does the surface finish affect EMI shielding?
Your anodized enclosure[^13] looks great. But that finish is an electrical insulator, creating gaps in your EMI shield where panels meet. Masking or using conductive finishes[^14] is the only solution.
Yes, absolutely. Standard anodizing and paint are insulators that break the electrical continuity[^10] needed for a Faraday cage[^9]. To ensure proper shielding, mating surfaces must be masked before finishing or coated with a conductive finish like clear chromate.
 “Masking on an aluminum panel for EMI shielding”)
The Hidden Insulator
This is one of the most common mistakes I see engineers make. They choose a standard black anodized finish for its great looks and durability, not realizing that anodizing creates a thin layer of aluminum oxide—a hard, non-conductive ceramic. This insulating layer on the mating surfaces of your panels completely breaks the electrical continuity[^10] of the Faraday cage[^9], rendering your shielding useless. The solution requires careful planning during manufacturing. There are two primary methods. The first is masking. We apply a temporary covering to the specific areas on the panels that need to touch and be conductive. We then anodize the part and remove the mask, leaving bare, conductive aluminum[^4] in those critical spots. The second method is to use a conductive finish, like a chromate conversion coating (often called Alodine or Iridite). This creates a very thin, corrosion-resistant layer that remains electrically conductive.
| Finish Type | Appearance | Corrosion Resistance | EMI Shielding Performance |
|---|---|---|---|
| Standard Anodizing | Excellent | Excellent | Poor (Insulating) |
| Masked Anodizing | Excellent | Excellent | Excellent (If Masked) |
| Conductive Chromate | Fair (Gold/Clear) | Good | Excellent (Conductive) |
Conclusion
Effective EMI shielding is a system. It requires a conductive enclosure, sealed seams, properly treated openings, and a conductive finish. Planning these details is key to protecting your sensitive electronics[^1].
---

[^1]: Find strategies and solutions for safeguarding sensitive electronics from electromagnetic interference.
[^2]: Gain a deeper understanding of electromagnetic interference and effective mitigation techniques.
[^3]: Explore this resource to understand the principles and techniques behind effective EMI/RFI shielding for electronics.
[^4]: Learn how conductive aluminum plays a crucial role in creating effective EMI shielding solutions.
[^5]: Discover the function of conductive gaskets in sealing seams and enhancing EMI shielding.
[^6]: Gain insights into electromagnetic waves and their impact on sensitive electronic devices.
[^7]: Explore the design and function of rack enclosures in providing EMI protection for electronic components.
[^8]: Learn about the impact of panel seams on EMI shielding and how to address potential leaks.
[^9]: Understand the concept of a Faraday cage and its significance in protecting against electromagnetic interference.
[^10]: Understand the critical role of electrical continuity in ensuring effective EMI shielding.
[^11]: Find out how shielded connectors help maintain EMI shielding integrity in electronic enclosures.
[^12]: Learn about honeycomb filters and their dual function in EMI shielding and ventilation.
[^13]: Explore the effects of anodizing on EMI shielding and the importance of electrical continuity.
[^14]: Discover how conductive finishes enhance the effectiveness of EMI shielding in enclosures.