You've finalized your PCB, but the quote for your custom enclosure lands on your desk, and it's over budget. Now you're caught between defending the cost and compromising your design. Let's fix that.
To get a better price, you must negotiate on design and process, not just the final number. Focus on the five key cost drivers: material volume1, tolerance precision2, surface finish complexity3, machining time4, and order quantity5. Providing clear data on these points shows you’re an informed partner, not just a price shopper.
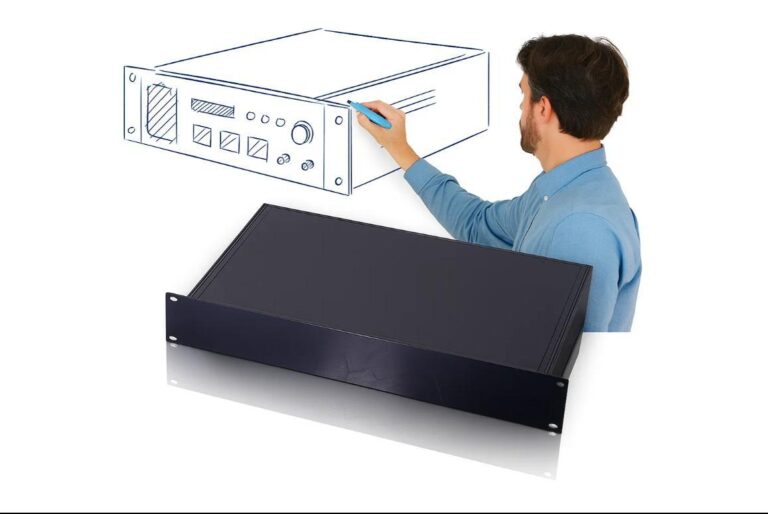
 "Optimizing enclosure design for cost"
Negotiation isn't an adversarial battle; it's a technical collaboration. When you understand what drives your supplier's costs, you can make intelligent design tradeoffs6 that save money without sacrificing performance. Let's dive into the data points that will strengthen your case.
Is wall thickness7 driving up my cost?
You designed your enclosure with thick, beefy walls for a feeling of robustness, but the quote came back surprisingly high. It feels like you're being penalized for making it strong.
Yes, absolutely. Wall thickness is a primary cost driver. It increases not only the raw material cost8 but, more importantly, the amount of material that must be machined away. A small reduction in wall thickness can lead to a significant reduction in CNC machining time4 and cost.
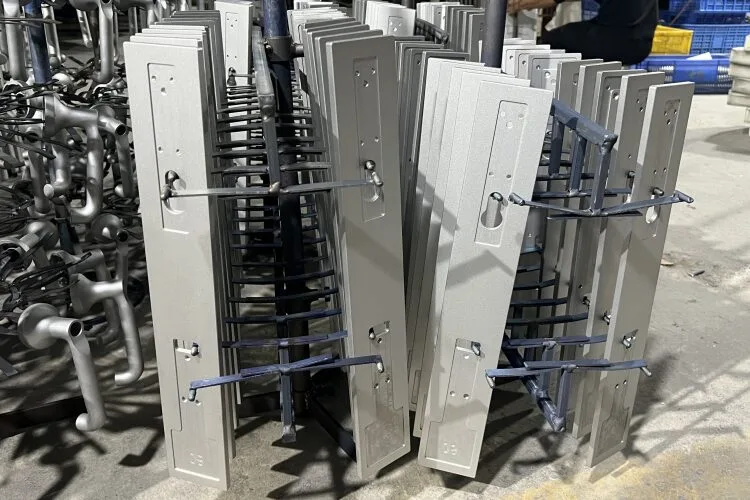
 "wall thickness analysis"
Engineers instinctively over-specify thickness as a "safety factor." But in the world of CNC machining from a solid block of aluminum, this instinct comes with a steep price tag. The cost impact is twofold: material and machine time.
The Misconception: Material is the Main Cost
Many designers assume the cost increase is linear—20% more aluminum means a 20% higher price. The reality is that the machining time, which is often the largest cost component, can increase exponentially. Imagine milling a deep pocket into a solid block. Removing the first 5mm of material might be quick. Removing the next 5mm takes longer because the tool has to reach deeper, clear chips from the cavity, and potentially run at slower speeds to manage heat and vibration.
Case Study: The RF Analyzer Redesign
A client developing a portable RF analyzer specified 10mm walls on their initial design. They wanted it to feel unbreakable in the field. The quote came in 30% over their target budget.
Instead of just haggling, we had a technical discussion. I asked them: "What are the specific load cases or impact requirements this unit must survive?" After reviewing their actual use case, we determined that 6mm walls, reinforced with internal ribs at key mounting points, would meet all their structural needs. This single design change reduced the total machining time4 by over 40%. The raw material saving was a bonus, but the reduction in machine hours is what brought the project back on budget.
Practical Takeaway: Specify for Need, Not Feeling
Before you finalize your drawing, challenge your own assumptions about thickness.
| Wall Thickness | Relative Material Cost | Relative Machining Time | Sweet Spot & Use Case |
|---|---|---|---|
| 3-4 mm | 1.0x | 1.0x | Excellent for standard handheld devices, IoT gateways, and low-mass electronics. |
| 5-6 mm | 1.5x | 1.8x | The optimal balance of strength-to-cost for most industrial applications. |
| 8-10 mm | 2.5x | 3.5x | Justified only for truly high-shock/vibration environments or enclosures with very deep internal pockets. |
| >10 mm | 3.0x+ | 5.0x+ | Highly specialized. This much thickness often points to an opportunity for redesign. |
How much do tight tolerances really affect the price?
Your drawing is covered in tight tolerances because you want a perfect fit and finish. But your supplier is quoting a premium or pushing back, asking if they are all necessary.
Extremely. Every tight tolerance is a direct multiplier on cost. It requires more setup time, slower machine speeds, potential tool changes for finishing passes, and far more intensive quality inspection. Relaxing non-critical tolerances is one of the fastest ways to reduce your enclosure's price without impacting function.

In manufacturing, precision equals time, and time equals money. Your ability to distinguish between "critical" and "non-critical" dimensions is a key factor in cost control. A supplier sees a drawing filled with tight tolerances and immediately prices in the extra steps and higher risk of scrap.
The Engineering Principle: Tolerance Stacking
A standard CNC machine can comfortably hold a tolerance of +/- 0.1mm (or +/- 0.004") on most features without special effort. This is our default at Pumaycase. When you specify a tolerance of +/- 0.02mm (~+/- 0.0008"), you're asking for a five-fold increase in precision. This doesn't just mean the machine runs slower. It means we may need to:
- Use a high-precision machine that costs more per hour.
- Perform a roughing pass, then a separate, slow finishing pass.
- Change to a brand new, sharp end mill for that one feature.
- Inspect every single part with a CMM (Coordinate Measuring Machine) instead of just sampling with calipers.
Client Result: The Medical Chassis Breakthrough
We worked with an engineer on a chassis for a medical diagnostics device. His title block defaulted every single dimension to a tolerance of +/- 0.01mm. The initial quote reflected the immense amount of inspection and machine care this would require.
We scheduled a 30-minute design review. I asked him to circle the truly critical interfaces. It turned out that only two dowel pin holes, used to align a sensitive optical component, actually needed that level of precision. We changed all other dimensions on the drawing to our standard +/- 0.1mm. The part price dropped by nearly 25%, and we cut a week from the lead time.
Your Action Plan: Tolerance Review
Before sending your next RFQ, do this:
- Identify Mating Surfaces: Where does your PCB mount? Where do connectors pass through? These are your critical interfaces.
- Look at Mating Part Tolerances: The mounting holes on a standard PCB have a tolerance of +/- 0.05mm at best. Specifying a +/- 0.01mm location for the mating hole in your enclosure is unnecessary overkill.
- Define Fit: Is this a sliding fit, a press fit, or just clearance? A clearance hole for an M3 screw does not need a tight tolerance.
- Use Zone Tolerancing: Call out tight tolerances only on the specific features that need them, and let the rest of the drawing default to a standard, looser tolerance.
Why does my choice of surface finish alter the quote so much?
You specified "hard anodize9" because it sounded durable, but the quote was much higher than for "standard anodize10." You’re left wondering why a seemingly simple coating choice makes such a big difference.
Surface finishing is a separate, complex manufacturing step involving chemistry, electricity, and manual labor. Finishes like hard anodizing (Type III) require significantly more energy, longer processing times, and stricter controls than standard anodizing (Type II), directly driving up the cost. Masking requirements also add significant manual labor.
"aluminum anodizing process"
Thinking of a finish as just a "color" is a common mistake. Each type of finish is a distinct industrial process with its own inputs, timeline, and cost structure. When we quote a finish, we're quoting the cost from our third-party finishing partner plus our own logistics and quality control.
The Process Behind the Price
Let's compare two common types of anodizing:
- Standard Anodizing (Type II): This is primarily for corrosion resistance and a decorative finish. The part is submerged in a sulfuric acid bath at room temperature, and an electrical current builds a thin (5-25µm) aluminum oxide layer. It's a reliable, cost-effective process.
- Hard Anodizing (Type III): This is for wear and abrasion resistance. The process is similar, but the acid bath must be chilled to near freezing, and a much higher electrical current is applied for a longer time. This builds a thicker, denser oxide layer (typically 25-50µm). The energy consumption and process time can be 2-3 times that of Type II.
The Hidden Cost: Masking
Here’s a detail that often surprises engineers: any surface that must remain electrically conductive for grounding or EMI shielding needs to be masked before finishing. The same goes for threaded holes, which can go out of tolerance if coated. This isn't automated. A person has to manually insert silicone plugs into every tapped hole and apply special tape to every grounding surface. If your design has 40 threaded holes, you are paying for 40 tiny, manual masking operations—twice (application and removal).
Design Takeaway: Match the Finish to the Function
Use this table to have a more productive conversation with your supplier.
| Finish | Primary Benefit | Relative Cost | Key Consideration |
|---|---|---|---|
| Standard Anodize (Type II) | Good corrosion resistance | 1x | The best "default" choice for most applications. |
| Hard Anodize (Type III) | Superior wear/abrasion resistance | 1.5x - 2.5x | Can affect final dimensions. Call out critical dimensions11 as "post-anodize." |
| Powder Coat | High durability, many colors | 1.2x - 2x | All conductive/grounding points will require manual masking. |
| Chromate Conversion (Alodine) | Excellent conductivity, paint prep | 0.8x - 1.5x | Provides minimal wear resistance on its own. Best for internal surfaces. |
Conclusion
The best negotiation is a technical conversation. By understanding these cost drivers, you can move from haggling over a price to collaborating on a design that meets both your performance needs and your budget.
Understanding material volume can help you negotiate better pricing and optimize your design. ↩
Learn how adjusting tolerances can significantly reduce costs without compromising quality. ↩
Explore how surface finish choices can impact your budget and product durability. ↩
Discover how machining time is a major cost driver and how to minimize it. ↩ ↩ ↩
Find out how increasing your order quantity can lead to significant savings. ↩
Discover how to balance design and cost effectively for your project. ↩
Understanding wall thickness can help you make informed design decisions that save money. ↩
Explore the relationship between material cost and your project's financials. ↩
Learn about hard anodize finishes to make informed decisions for your enclosure. ↩
Discover the advantages of standard anodize for cost-effective enclosure solutions. ↩
Identifying critical dimensions can help streamline production and reduce costs. ↩