Customizing enclosures sounds expensive. You worry that every small change will add huge costs and complexity, forcing you to choose between features and your budget.
Focus customization on the front and rear panels1 for I/O and branding. Use standard enclosure bodies and smart finishing choices like silk-screening2 over complex engraving to add value while controlling costs.
 “Smart customization for 19-inch racks”
Customization doesn't have to be an all-or-nothing game. I've learned over the years that the smartest engineers don't customize everything. They customize the parts that matter most to their customers and their brand. It's a strategic approach that balances unique features with practical cost control. Let's look at the playbook for doing this right.
Where should you focus customization for the biggest impact?
You need specific cutouts for your connectors, but a fully custom enclosure seems like overkill. You're unsure where to invest your customization budget3 for the best return on investment.
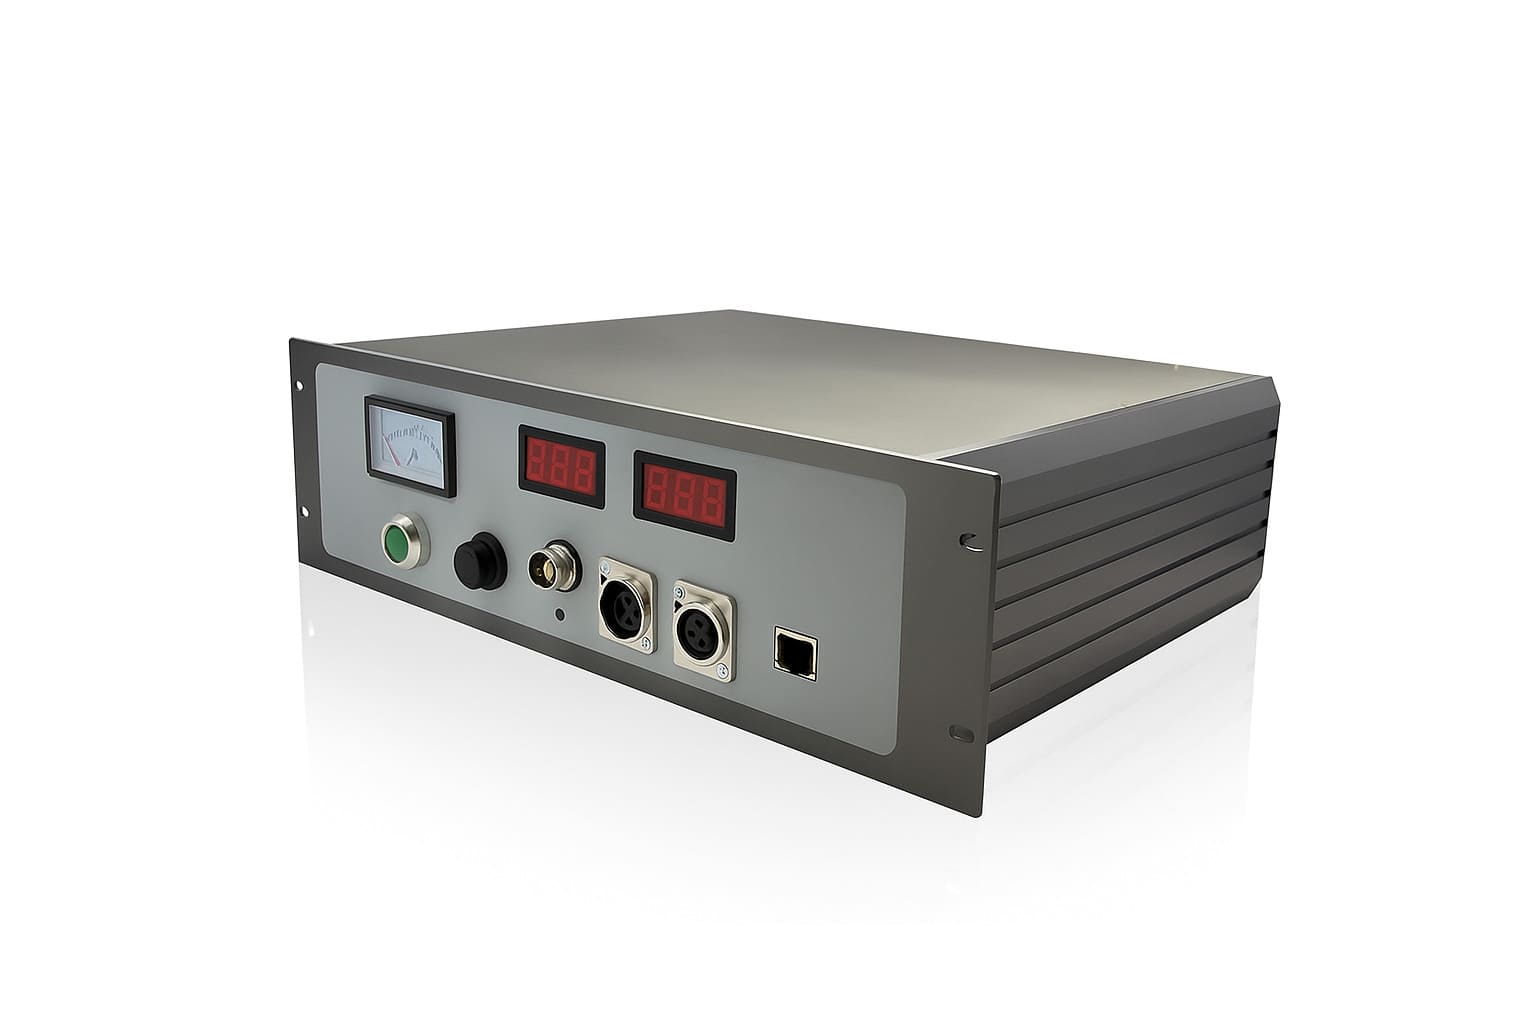
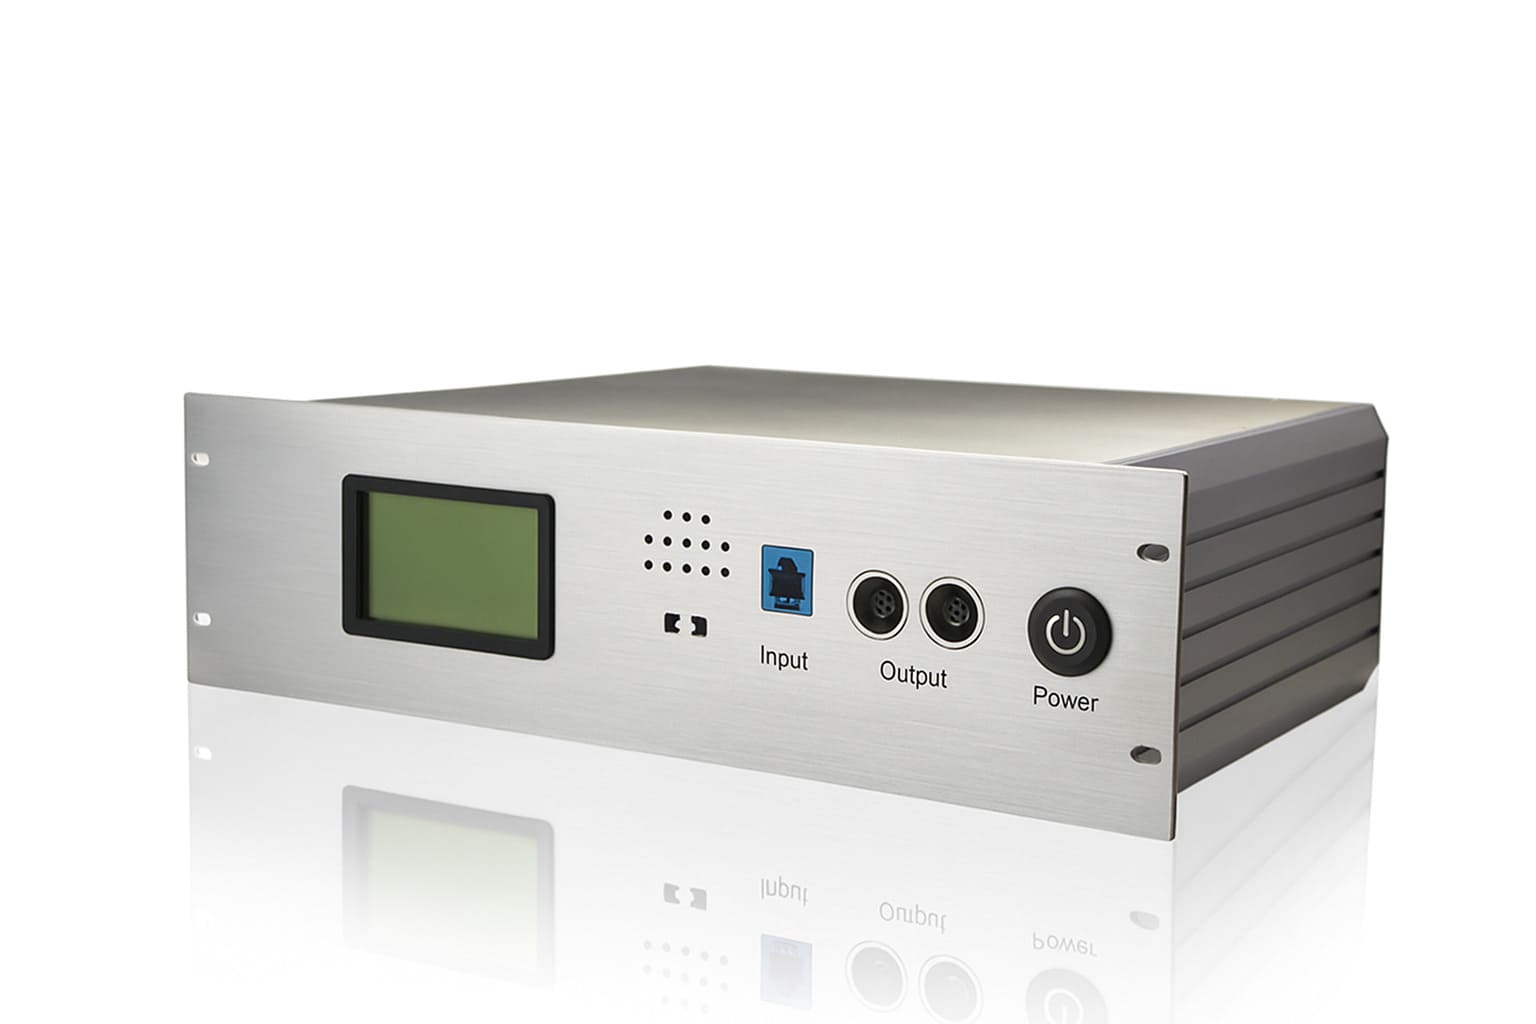
Concentrate all customization on the front and rear panels. These are flat plates that are inexpensive to machine. Keep the main enclosure body as a standard extruded profile4 to save significant tooling costs and lead time.
%[A close-up of a custom front panel with connectors and displays](https://placehold.co/600x400 “Focus customization on the front panel”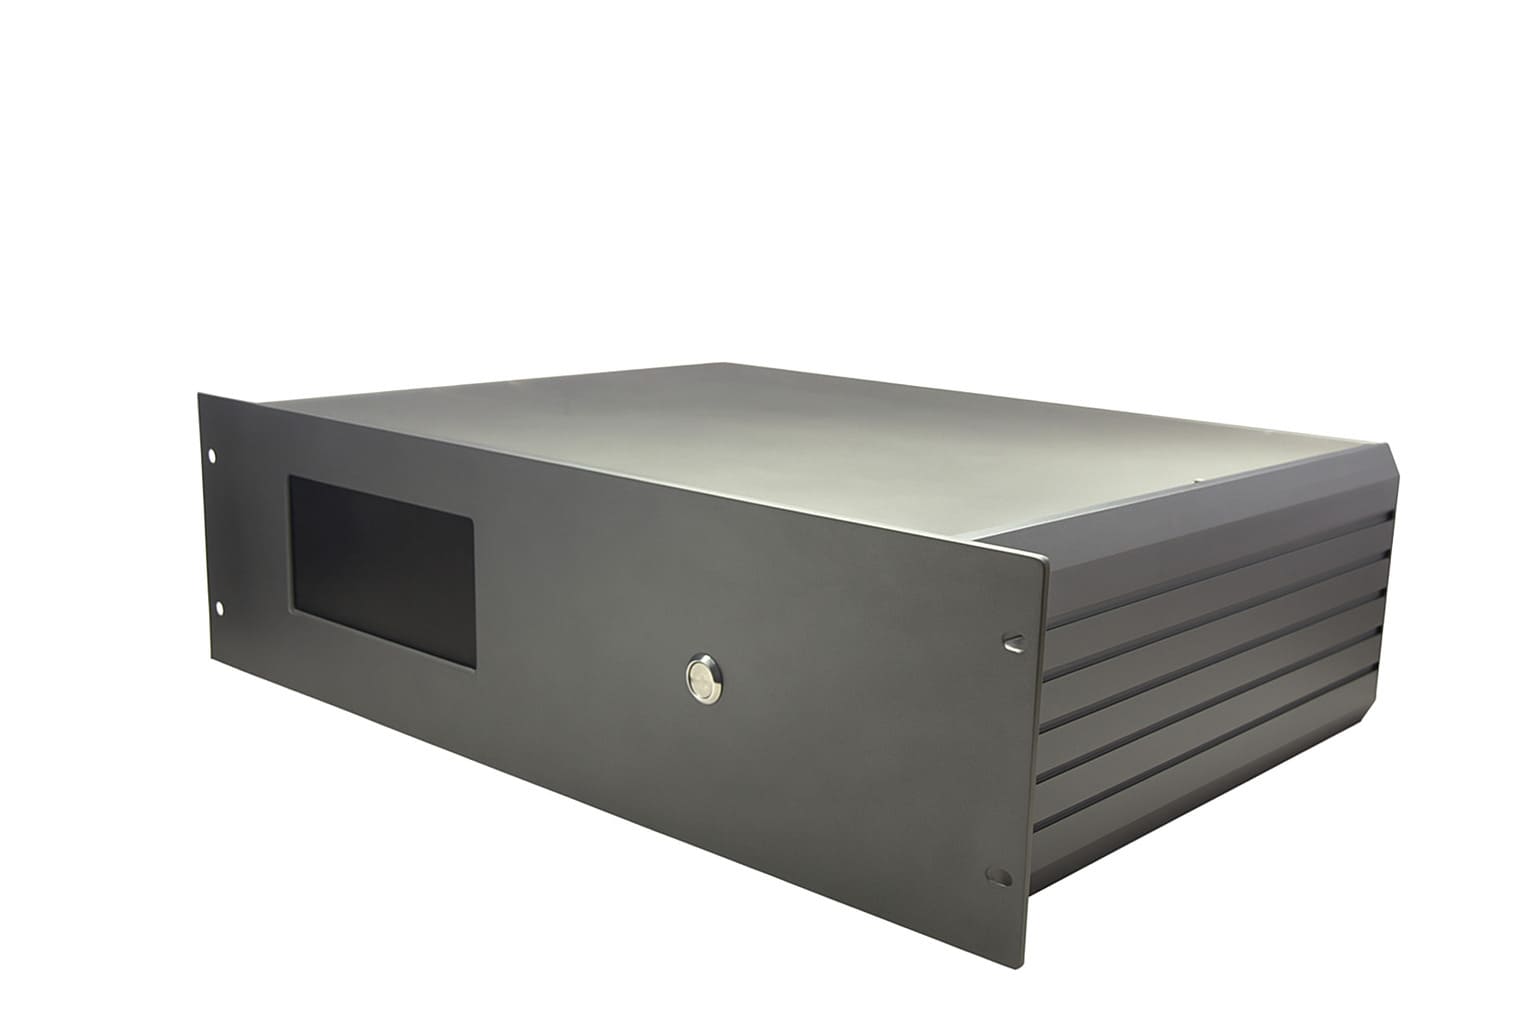
The 80/20 Rule of Enclosure Customization
I always tell my clients to follow the 80/20 rule5. 80% of the value from your customization comes from just 20% of the enclosure: the front and rear panels. This is where your user interacts with the device. It's where the connectors, buttons, and displays live. The front and rear panels are typically flat sheets of aluminum. They are very easy and cheap to machine on a CNC router6. We can cut any shape or hole pattern you need with incredible precision. Changing the panel design from one product variant to the next is a simple matter of loading a new program into the CNC machine. This gives you immense flexibility without a massive cost penalty. The main enclosure body, on the other hand, is usually an aluminum extrusion. Creating a custom extrusion die is very expensive and requires a large minimum order. By using a standard, off-the-shelf enclosure profile, you avoid this massive cost entirely. This hybrid approach—custom panels on a standard body—is the core secret to cost-effective customization.
| Enclosure Part | Customization Strategy | Rationale |
|---|---|---|
| Front Panel | High Customization | User interaction, branding, I/O. Inexpensive to machine. |
| Rear Panel | High Customization | Power, data connectors. Inexpensive to machine. |
| Main Body | Standard Profile (No custom) | Avoids high tooling costs and long lead times. |
| Top/Bottom | Standard Profile (No custom) | Low functional impact, cost-effective to keep standard. |
What are the smartest ways to add branding and graphics?
You want your product to look professional and branded, but custom graphics7 sound complicated and expensive. You're afraid of poor quality printing that scratches off easily.
Use silk-screening for durable, high-contrast logos and labels. It's a cost-effective method for one or two-color graphics. For complex, multi-color images, digital printing is a great option. Both are far more economical than laser engraving.
 “Smart branding options for enclosures”
Making Your Brand Stand Out
After functionality, the look and feel of your product are what sell it. Professional branding builds trust. But you don't need to break the bank to achieve it. For most applications, silk-screening8 is the best choice. It involves creating a 'screen' (like a stencil) and pushing a durable epoxy ink through it onto the anodized surface. The result is a crisp, opaque, and incredibly tough graphic that resists scratching and chemicals. It's perfect for logos, connector labels, and safety warnings. It is extremely cost-effective, especially when you are printing a batch of identical panels. The main cost is the one-time setup of the screen. When you have very complex, multi-color graphics like a photo, digital printing is the way to go. It works just like a desktop printer but uses special inks that cure on the metal surface. Laser engraving is another option, which burns away the anodized layer to reveal the raw aluminum underneath. While it's permanent, it offers no color and is typically slower and more expensive than silk-screening1 for most applications.
| Branding Method | Best For | Cost | Durability |
|---|---|---|---|
| Silk-Screening | 1-2 color logos, text, and labels | Low | Excellent |
| Digital Printing | Multi-color images, complex gradients | Medium | Good |
| Laser Engraving | Permanent, single-color (silver) marks | High | Permanent |
How can you leverage standard components to save money?
Starting every design from a blank page is slow and expensive. You waste time re-engineering common elements, which increases the risk of errors and delays your project.
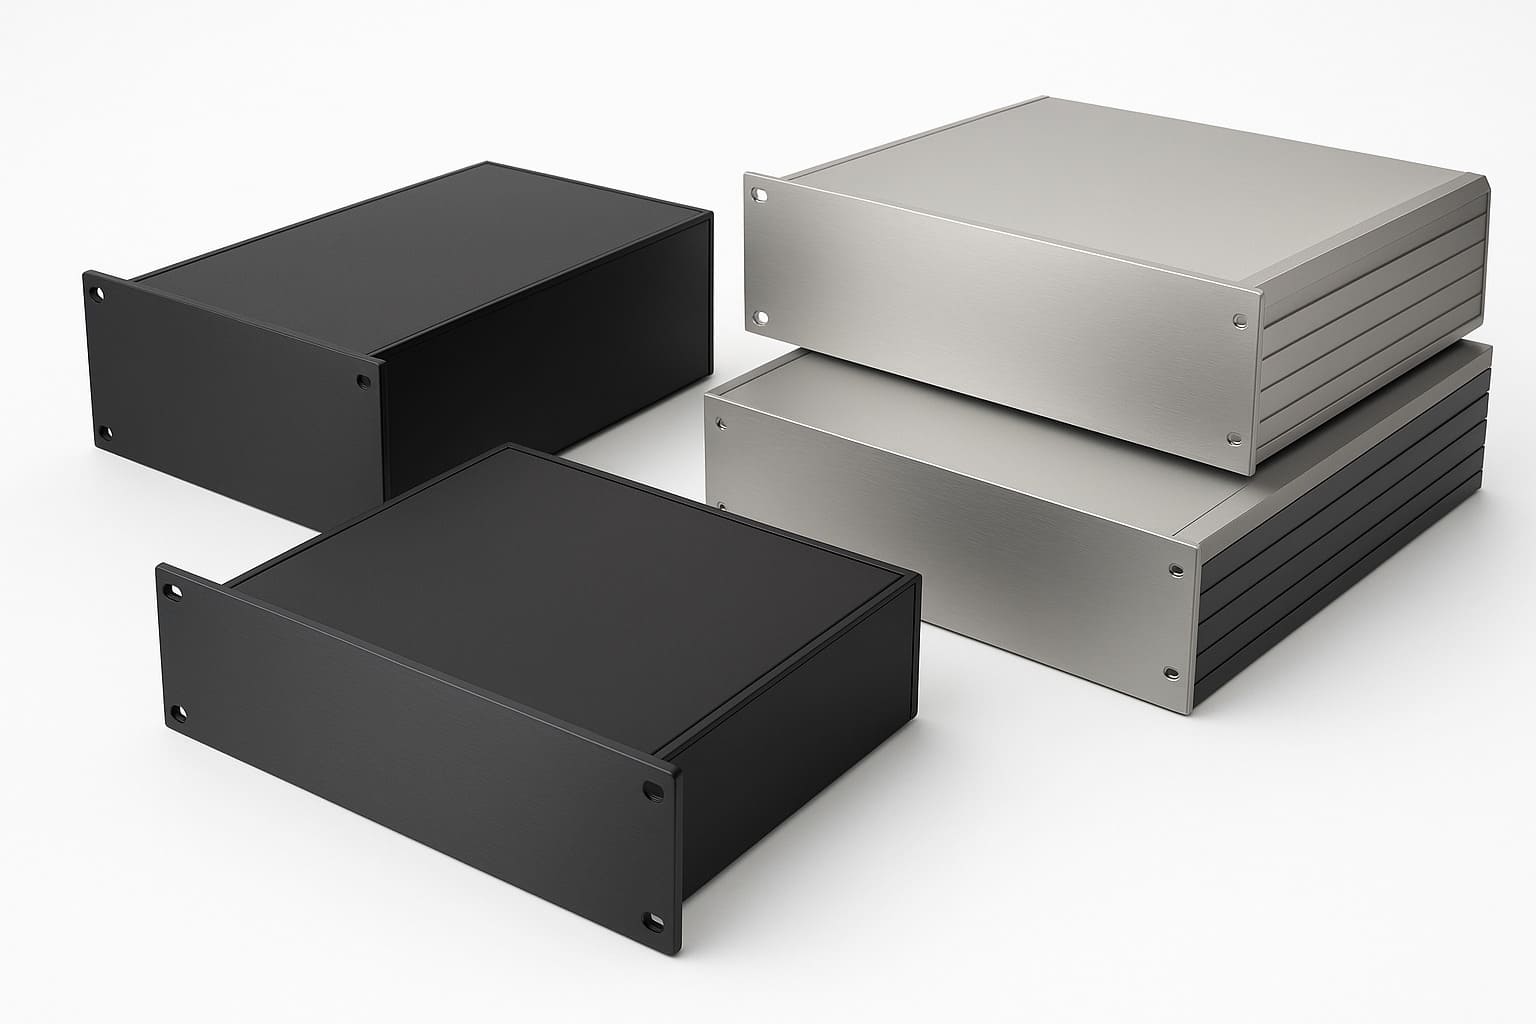
Use a supplier's library of standard extruded profiles and modular end plates. This plug-and-play approach acts as a proven foundation, cutting development time by up to 40% and letting you focus your efforts on the custom features that matter.
 “Leveraging standard components for enclosures”
Don't Reinvent the Wheel
Some of the most successful engineers I've worked with are masters of not reinventing things. Why design a box from scratch when a proven, tested foundation already exists? This is the philosophy behind using standard components. It's about building on a reliable platform. At PUMAYCASE, we have a whole range of standard aluminum extrusion profiles. These are our "standard bodies." They come in different heights (1U, 2U, 3U, etc.) and depths, with features like internal card slots already designed in. For an engineer like Jeff, this is a game-changer. He can select a standard body that he knows is thermally efficient and structurally sound. Then we can create custom front and rear panels to match his exact I/O requirements. This modular, plug-and-play approach is the fastest way to get from concept to a high-quality prototype. It drastically reduces the risk of tolerance mismatch because the core components are designed to work together perfectly. It’s a core part of how we deliver rapid customization for small-batch runs.
Conclusion
Smart customization is not about spending more. It’s about focusing your budget on high-value areas, like panels and branding, while leveraging standard components to ensure speed and reliability.
Explore how customizing these panels can enhance functionality and branding without breaking the bank. ↩ ↩
Learn how silk-screening can provide a cost-effective way to add branding and design to your enclosures. ↩
Exploring this resource will provide insights on how to effectively allocate your customization budget for optimal results. ↩
This link will help you understand the advantages of standard extruded profiles, including cost savings and efficiency. ↩
Understanding the 80/20 rule can help you maximize value in your customization efforts, ensuring efficiency and cost-effectiveness. ↩
Exploring CNC router technology will reveal how precision machining can enhance your product design and reduce costs. ↩
Learn about various techniques for custom graphics to elevate your product's appearance and branding without breaking the bank. ↩
Explore this link to understand the silk-screening process and its benefits for branding. ↩