Your powerful electronics are overheating inside a sealed box. This thermal throttling kills performance, and adding a fan is not an option. You're stuck with a potential product failure.
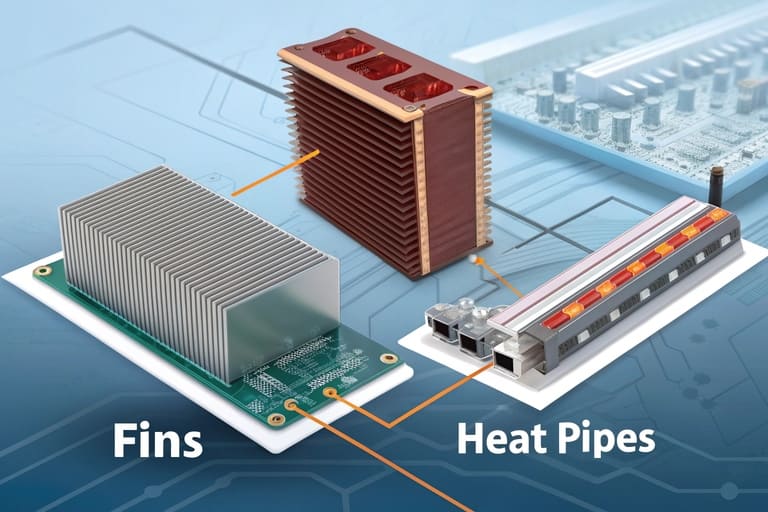
The best thermal design[^1] combines passive elements. Start with optimized heatsink fins for general heat dissipation. For high-power hot spots, integrate heat pipes[^2] to move heat away quickly. Use the right thermal pad[^3] to connect them.
 "Combining Fins and Heat Pipes for Optimal Cooling"
I once worked with a client developing a compact, fanless industrial PC[^4]. They were brilliant software engineers, but their hardware kept failing under load. Their design was a simple, flat aluminum box. They thought they could solve the overheating by just making the walls thicker. I had to explain that thermal management isn't about mass; it's about surface area[^5] and efficient heat transfer. We redesigned their enclosure with integrated heatsink fins along the sides and machined a small slot for a single heat pipe to pull heat directly from the CPU. The temperature at the processor dropped by nearly 20°C. It was a powerful lesson in how you must design for heat from the start, not just try to contain it afterward.
How Can You Maximize Cooling with Just Heatsink Fins?
You added fins to your enclosure, but it's still running hot. You're wondering if you chose the wrong fin height or spacing, wasting money on an ineffective design.
For effective heatsink fins, focus on the aspect ratio. Taller fins with wider spacing perform better in natural convection[^6]. A 6:1 height-to-spacing ratio is a great starting point for passive cooling without a fan.
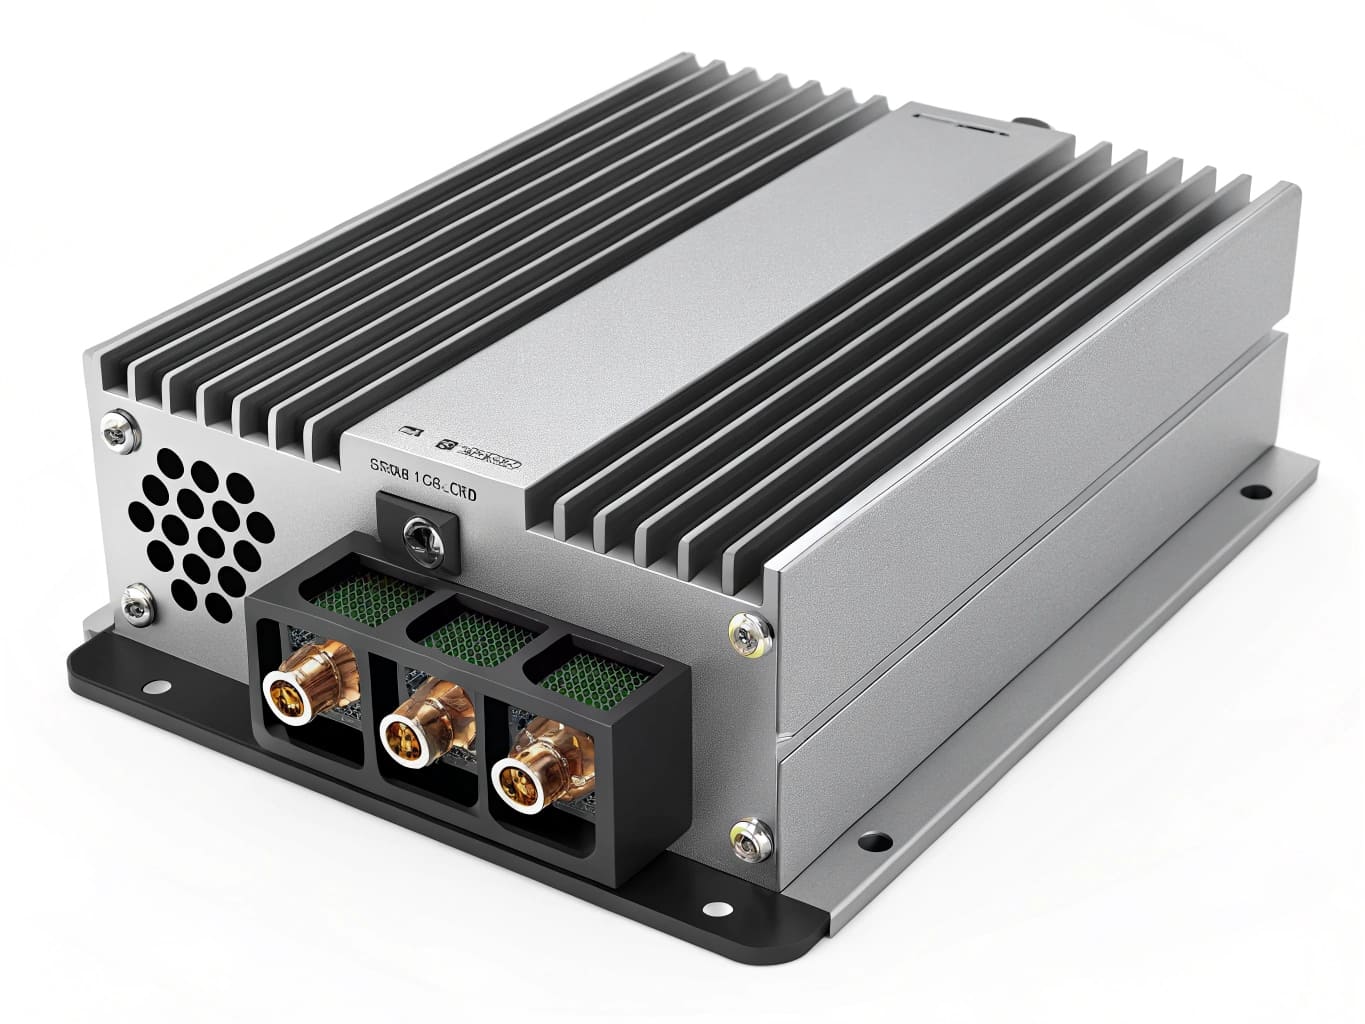
 "Optimized Heatsink Fin Design"
The performance of heatsink fins in a fanless enclosure depends entirely on natural convection. Hot air is less dense, so it rises, pulling cooler air in from below to replace it. This creates a slow-moving airflow that carries heat away from the fins. If your fins are too short, they don't have enough surface area. If they are packed too closely together, they trap a layer of stagnant, hot air between them, which stops the convection process completely. The key is finding the right balance between height and spacing. For our custom extrusions, we aim for a good aspect ratio, but we are also limited by the manufacturing process. It's very difficult to extrude fins that are both extremely tall and extremely thin. Working with an experienced manufacturer can help you find that practical sweet spot that maximizes cooling without creating an impossible-to-produce design.
Finding the Sweet Spot for Fin Design
| Fin Design | Fin Height | Fin Spacing | Natural Convection Performance |
|---|---|---|---|
| Poor | Low | Narrow | Low surface area, traps air. |
| Better | High | Narrow | High surface area, but still traps air. |
| Good | Low | Wide | Good airflow, but low surface area. |
| Optimal | High | Wide | High surface area with excellent airflow. |
When Should You Add Heat Pipes to Your Enclosure Design?
Your CPU is creating an intense hot spot, but the rest of the enclosure is cool. The fins alone can't draw the heat away fast enough from that one small area.
Use heat pipes when you need to move a large amount of heat from a concentrated source (like a processor) to a larger cooling area (like the external fins). A heat pipe slot machined into the enclosure makes this integration simple.
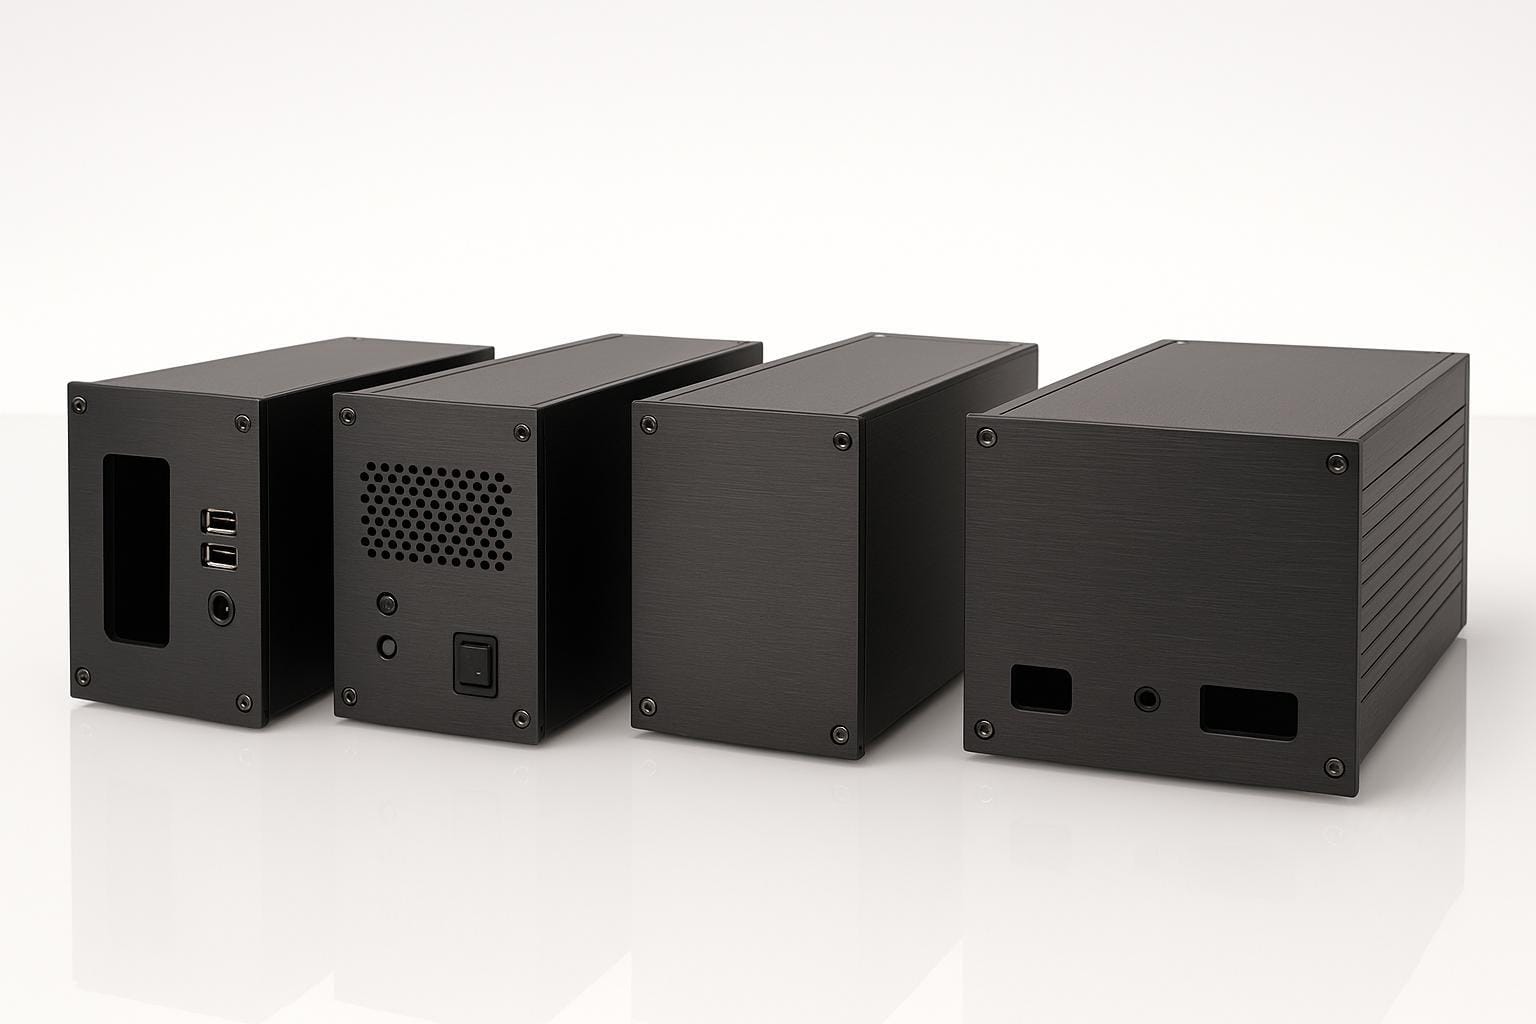
 "Using a Heat Pipe to Target Hot Spots"
Think of a heat pipe as a superhighway for heat. It's a sealed copper tube containing a small amount of liquid and a wick structure. When one end gets hot, the liquid vaporizes, turning into a gas. This gas rushes to the cooler end of the pipe, where it condenses back into a liquid, releasing its heat in the process. The wick then pulls the liquid back to the hot end, and the cycle repeats. This process is incredibly efficient and can move heat hundreds of times faster than a solid copper rod of the same size. Fins are great for getting heat out of the enclosure, but they can only dissipate heat that reaches them. If your heat source is a tiny, powerful chip in the middle of the board, you need a heat pipe to act as a bridge, grabbing that concentrated heat and spreading it out across the large surface area of your fins.
How Heat Pipes Work as Heat Superhighways
To make this work in our enclosures, we don't just glue a heat pipe on top. We machine a precise heat pipe slot or groove into the base of the aluminum enclosure. This creates a perfectly flat and secure channel for the heat pipe to sit in, ensuring maximum surface contact. The heat pipe is then attached to the heat source (like a CPU) with a mounting bracket, and the other end is seated in the groove near the external fins. This creates a dedicated, high-speed thermal path right where you need it most.
Are Thermal Pads Really the Best Way to Transfer Heat?
You have a perfect heatsink, but your component is still overheating. There's a tiny air gap between them, and that air is a terrible conductor, trapping heat right where you don't want it.
Yes, for most applications. A thermal pad is a solid, compliant material that fills microscopic air gaps between a component and a heatsink. It ensures efficient heat transfer and is much cleaner and more reliable than messy thermal paste.
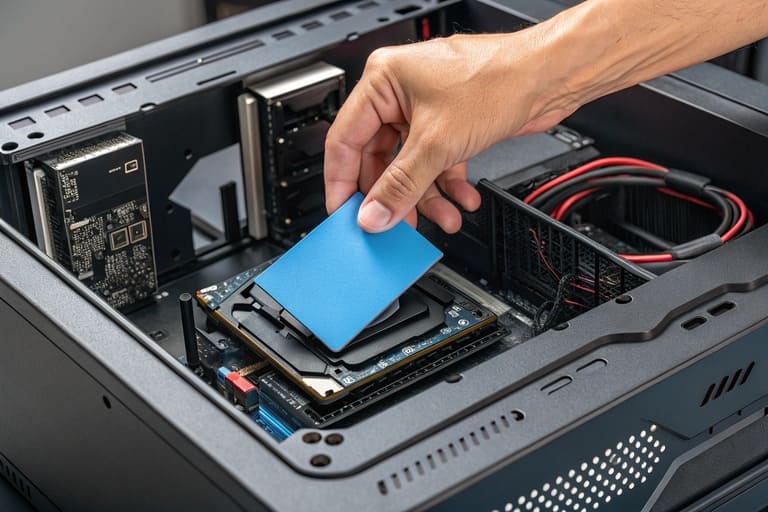 "Applying a Thermal Pad for Efficient Heat Transfer"
No matter how smooth they look, the surface of your CPU and the surface of your heatsink are not perfectly flat. On a microscopic level, they are full of peaks and valleys. When you press them together, you create thousands of tiny air gaps. Air is a fantastic insulator, which is the exact opposite of what you want. This is where a Thermal Interface Material (TIM) comes in. Its only job is to fill those air gaps with a material that conducts heat well. The two main choices are thermal paste and thermal pads. While paste can sometimes offer slightly better raw performance in perfect conditions, I almost always recommend pads for industrial and commercial products. They are far more reliable and consistent.
Pads vs. Paste: Choosing Your Interface
A thermal pad is a solid, gummy sheet of silicone or graphite filled with conductive ceramic particles. It's easy to handle, cut to size, and apply. A technician on an assembly line can apply a thermal pad perfectly every single time. Thermal paste, on the other hand, is a messy liquid. It's difficult to apply the right amount consistently, it can squeeze out and get on other components, and it can dry out and crack over time, causing performance to degrade. For a reliable, long-lasting product, the consistency and durability of a high-quality thermal pad are a much safer choice.
| Feature | Thermal Pad | Thermal Paste |
|---|---|---|
| Application | Easy, clean, consistent. | Messy, requires skill. |
| Gap Filling | Excellent for larger, uneven gaps. | Best for very thin, even gaps. |
| Reusability | Often reusable if not damaged. | Must be cleaned and reapplied. |
| Durability | Does not dry out or pump out. | Can dry, crack, or separate over time. |
| Best For | Manufacturing, field service, reliability. | Enthusiast PC building, extreme overclocking. |
Conclusion
Effective thermal design uses the right tool for the job. Optimized heatsink fins provide the base, heat pipes target hot spots, and thermal pads ensure a perfect connection between them.
---

[^1]: Explore this resource to understand how to optimize thermal design for better performance.
[^2]: Find out how heat pipes can efficiently transfer heat and improve thermal performance.
[^3]: Discover how thermal pads can significantly improve heat transfer efficiency in your designs.
[^4]: This resource discusses the unique challenges faced in industrial PC design and solutions.
[^5]: Explore the critical role of surface area in enhancing heat dissipation in electronics.
[^6]: This resource explains natural convection and its critical role in passive cooling systems.